
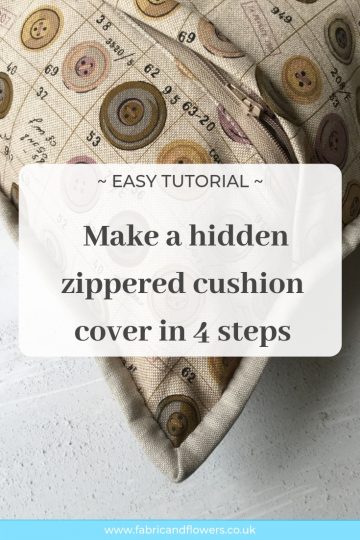
Tutorial – Hidden Zippered Cushion Cover
Hellooo! Making cushion covers (or pillow covers, if you’d rather!) is one of my favourite things to do! They make a great gift and, if you’re a quilter, are a perfect way to use oversized or random blocks you have laying around!
NOTE: This post may contain affiliate links, which means if you make a purchase I may make a small commission at no extra cost to you. You can read my full disclosure privacy policy here. Thank you.
My favourite way to do this is by adding a hidden zip – sometimes called a lapped zip. It gives a really neat finish and allows you to finish the cushion in a number of different ways.
Today, I’m going to show you how to sew a hidden zippered cushion cover in just four easy steps.
Table of Contents
Materials Needed
- Pillow
- Fabric for front (same measurement as the pillow)
- Fabric for back (same width as pillow x (height + 4″))
- 1 x zip a couple of inches bigger than your cushion
I’m using the Mini Charm Medallion Tutorial cushion cover, so I’ve got;
- 16″ pillow
- 16.5″ cushion front
- 16.5″ x 21″ fabric for back (or two pieces of fabric that give you this total measurement)
- 18″ zipper length (I used a continuous zipper tape that I’d cut to size)

Prepare Fabrics for Zippered Back
Decide on where you would like to position the zip on the back of the cushion – I like to go about a third of the way up, but you can go for whatever you prefer!
Cut the back piece of fabric into two pieces measuring;
- Bottom Back: One (1) 16.5″ wide x 6″ tall
- Top Back: One (1) 16.5″ wide x 14″ tall
To give a neat finish inside the cushion where the zip is placed, I like to serge the edges of the top hem of the bottom piece, and bottom hem of the top piece. Alternatively, you can use a zig-zag stitch if you don’t have an over-locker, or leave unfinished if the fabric doesn’t fray too badly.
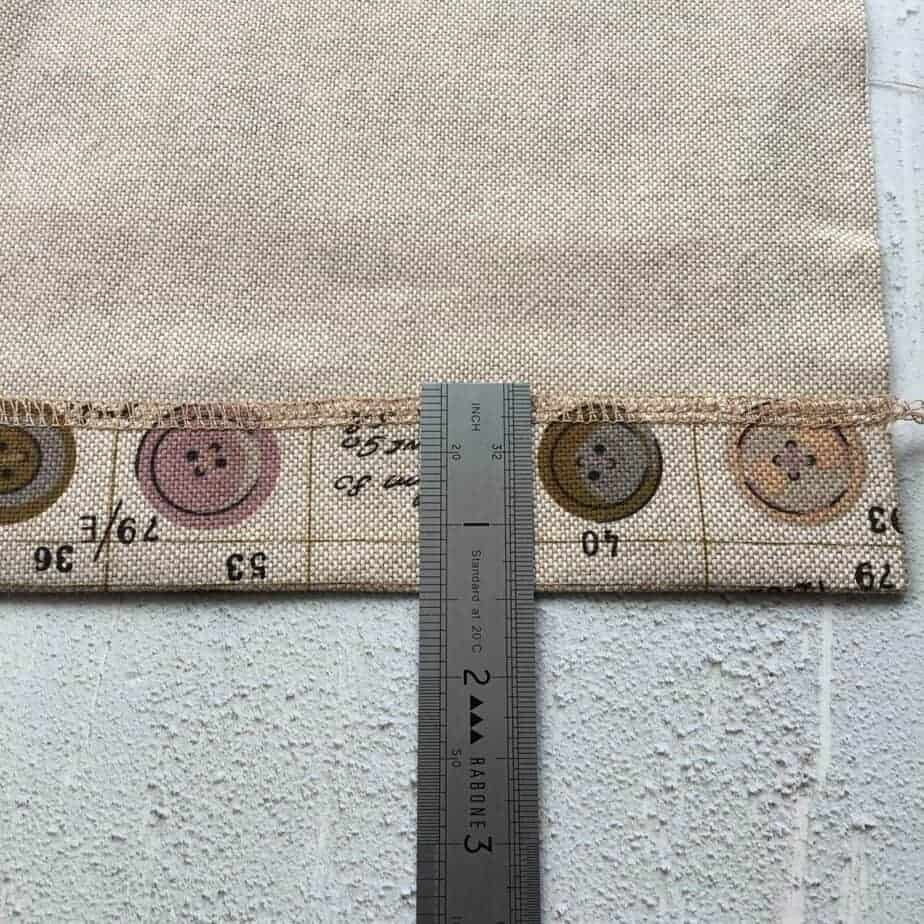
Take the Top Back, place Right Side Down and fold the bottom edge up by 1.5″. Press. Unfold.
Sew the Zip
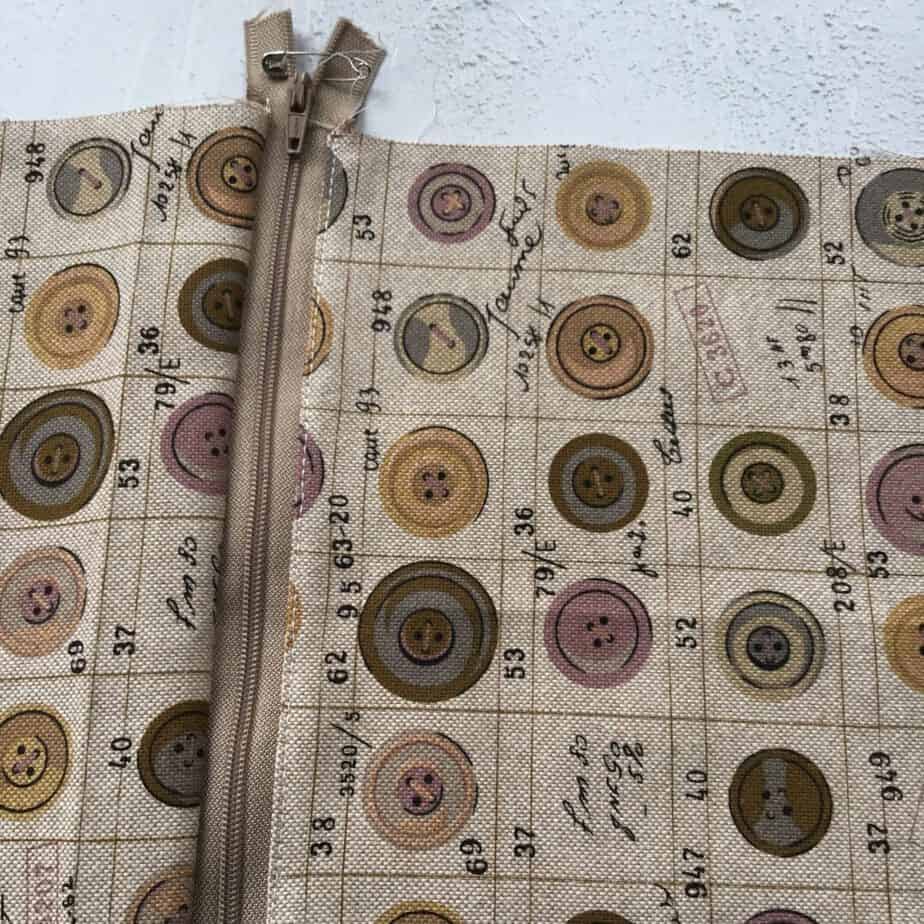
Draw a line an inch or so in from one end on the outside edges of the zipper tape. This mark allows us to attach the zip so that it is level on both pieces of fabric.
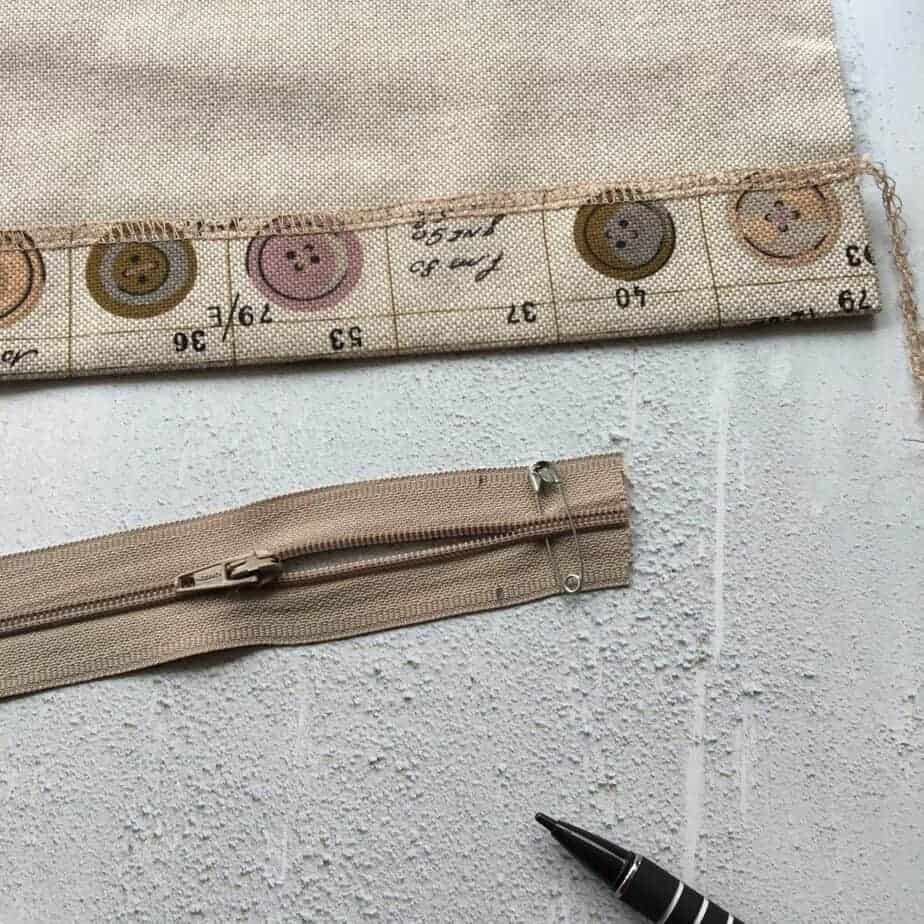
NOTE – if you’re using a continuous zipper tape like me, I’ve found using a safety pin stops me from accidentally pulling the zipper pull off!
Place the Top Back cushion fabric wrong side down on a flat surface. Take the zip and place it upside down on the fabric (with the right side of zip facing the right side of the fabric). Match the pencil marks with the side edge, and align the edge of the zip with the bottom edge of the fabric.
Pin in place and, using a zipper foot, stitch approximately a 1/4″ in from the fabric/zip edge.

Before you reach the zipper pull, stop stitching. Making sure that the needle is down, lift the presser foot and gently pull the zipper pull up/down out of the way so that you can continue stitching easily to the end of the seam.
TIP: if you are nervous about moving the zipper pull, an over-sized zipper helps with this! See my post 6 Tips for Sewing Zips Easily and quickly for more tips
Take the Top Back fabric, placing the zipper right side up and fold the fabric back out of the way (no need to iron!). Take the Bottom Back fabric and place it right side down on the remaining side of the zip, matching the side edge with the pencil mark on the zip. Pin and stitch as before.

By stitching the zip in from the same end on each side, it means that any fabric creep is going in the same direction!
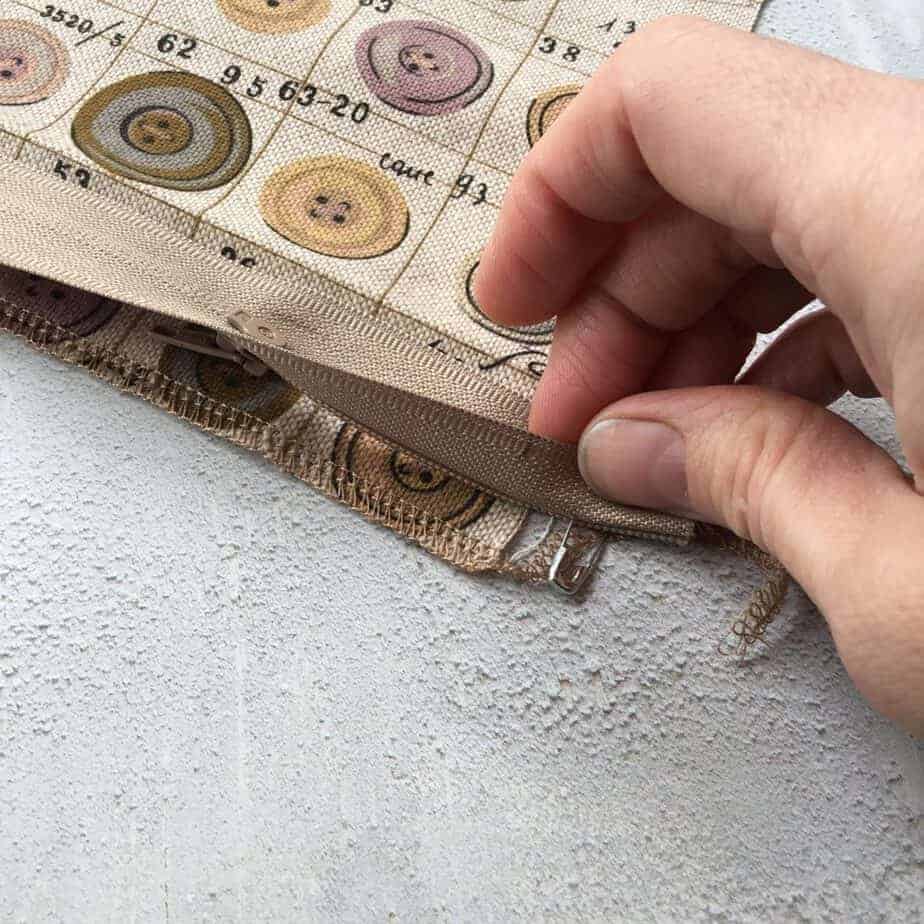
Press the Bottom back fabric away from the zip. Making sure that the Top Back fabric is not in the way, top-stitch just inside the fabric edge using a zipper foot.
Using the pressed line on the Top Back piece as a guide, bring the fabric down so that the fold covers the zip. Pin in place a few times along the length of the zip.

Starting at one edge of the cushion, and using the overhanging zip as a guide, align the zipper foot with the teeth of the zip and top-stitch (you should find that the foot easily follows the line of the zip).

Finish the Zipped Cushion Back
Although optional, I like to stitch the fold in position along the edges to stabilise the back of the cushion and to reduce any potential zip issues!
Move the zipper pull back from the edge of the cushion cover. Starting from the Top Back, smooth the fold down and pin in place, before stitching just inside the seam allowance eg. 1/8″. It helps to start above the fold and sew down towards the bottom of the cushion back as this stops any puckering.

Trim any zipper tape that is overhanging the cushion back from each edge, once the fold is secured.

Trim the cushion back to the correct height – if using a patterned fabric, this gives the chance to play with pattern placement!
Join the Cushion Front and Covered Zip Back
Remember, if you are using a directional print to make sure that the hidden zip flap is placed correctly
How to Finish a cushion with binding
Place the front and back fabrics Wrong Sides Together. Pin through both layers at each corner, before adding a couple of pins along each edge.

Stitch all around the edge of the cushion cover, just inside the seam allowance that you will be using for the binding eg. 1/8″ if you will be using a 1/4″ binding.
Add binding to finish, as you would for a quilt, attaching binding to the front of the cushion and folding over to the back.
How to Finish a Standard Cushion (no edging)
To make a normal cushion – one without any fancy edging! – pull the zip towards the middle of the zipper tape, so that you will be able to turn it inside out when finished.

Place the front and back cushions Right Sides together. Pin through both layers at each corner, before adding a couple of pins along each edge.
Sew all around the edge of the cushion – if you have a quilted panel, you will probably need to use a 1/4″ seam allowance. If you would like to finish the inside edges, you can go around each of the sides with a zig-zag/serger to stop any fraying. Turn inside out before placing a cushion pad inside.
I hope you’ve found this useful! Let me know if you have any questions.
S x
Today’s sky::: overcast, grey and rain. Meh!
If you would like monthly news and updates, please sign-up to my newsletter.
To check out my quilt and accessories patterns, visit my Pattern shop.
For my favourite sewing equipment and tools, visit my Amazon store.

I’m so pleased to hear that! hope you have fun making lots of zippered items now!!! Sx
Thank you so much! Your method to install a lapped zipper worked great!