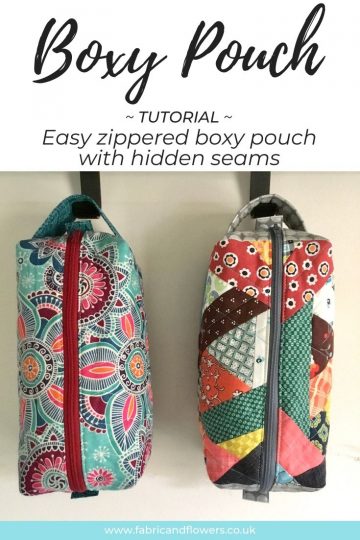
Tutorial – Easy Lined Zippered Boxy Pouch with handle
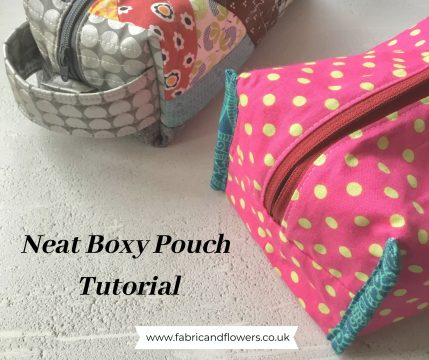
If you’ve been here before, you probably know that I love making bags and pouches! Today, I’m sharing a fun zippered boxy pouch tutorial – the Neat Boxy Pouch – which comes together quickly and provides a lovely neat finish inside and out!
NOTE: This post may contain affiliate links, which means if you make a purchase I may make a small commission at no extra cost to you. You can read my full disclosure privacy policy here. Thank you.
I recently taught a beginners zipper class and wanted to make something that would be easy to make and achievable in the time we had (two hours!).
Boxy Pouches are always fun as they are roomy (aka Hold Loads of Stuff!), and this pattern is a combination of different patterns and tutorials that I’ve tried over the years with a few extra tweaks!
The Neat Boxy Pouch design features enclosed end seams and the finishing of the side seams means that the pouch has a lovely structure, as well as ensuring that the lining doesn’t sag. It also uses an over-sized zip which makes them much easier to insert and makes it an ideal first zipper project!
If you are new to sewing zips, don’t forget to check out my 6 Tips & Tricks here.
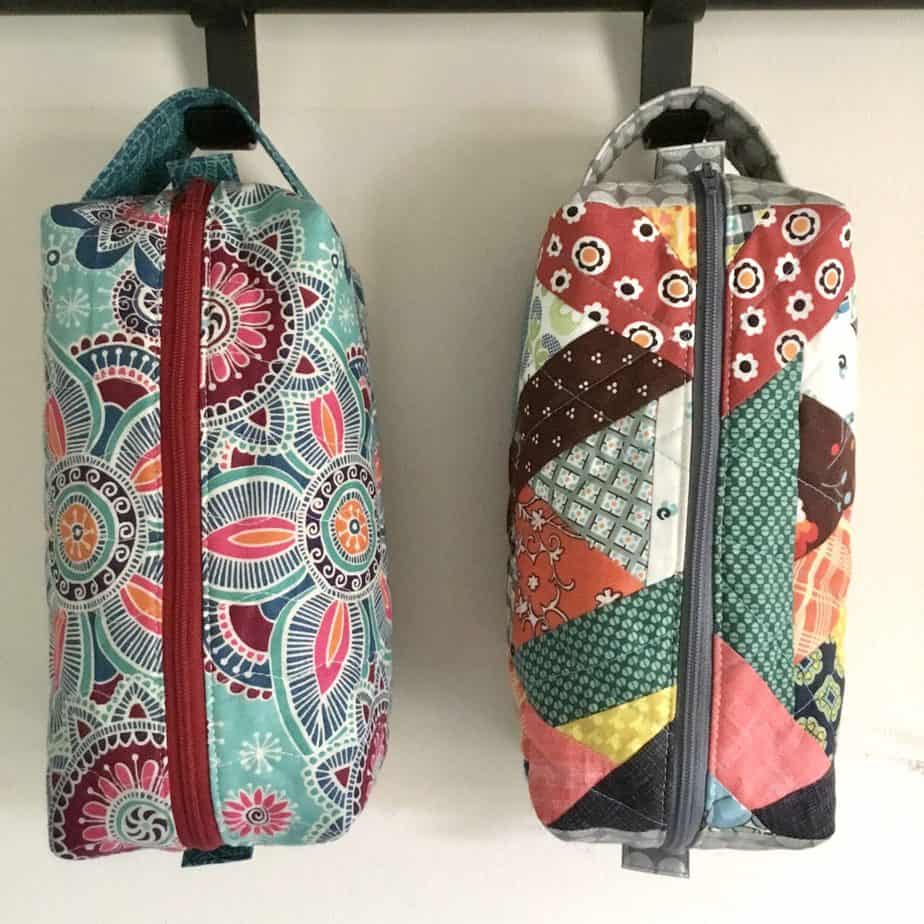
Finished Size: 9″ wide x 4″ deep x 3.5″ high
Table of Contents
Materials
- 1 FQ Outer Fabric
- 1 FQ Lining / Tabs / Handle / Binding
- 16″ zip – you can get a great range from here
- 1 FQ Interfacing – this is my favourite!
- 1 FQ wadding *
* If you use fusible wadding, there is no need to use interfacing and wadding. I just used what was at hand!
All Seam Allowances are 1/4″ unless otherwise stated.
Cutting List
| # Pieces | Width | Height | |
| Fabric Outer Panels Lining Material Handle Tabs (optional) Binding (optional) | (2) (2) (1) (1) (4) | 13″ 13″ 7″ 2.75″ 1.25″ | 8″ 8″ 4″ 5″ 4.25″ |
| Fusible Interfacing Exterior Panels Handle | (2) (1) | 13″ 7″ | 8″ 4″ |
| (Fusible) Wadding * | (2) | 13″ | 8″ |
Prepare Pieces
To make the tabs;
- Fold each long edge in towards the centre by 7/8”. Press.
- Fold the strip in half lengthwise to find the centre point. Fold each short end into the middle so that they meet.


- Topstitch around all four edges – I like to start along the centre of one long side, and reinforce my stitching at this point on each side.
- Cut in half along the centre join and set aside.
To make the handle;
- Press interfacing to the wrong side of the handle.
- Fold the fabric in half RST matching the long edges. Stitch along the long edge.


- Turn through to the right side, using something pointy (such as a chopstick!) to help if needed and centre seam on the back. Press.
- Top-stitch 1/8” along each length to secure. Add more stitching if desired (I stitched 3/8” apart). Set aside.
Prepare Exterior Panels
- Iron interfacing to the wrong side of the exterior panels (note: you can skip this step if you are using a heavyweight fabric such as canvas).
- Lay the fabric wrong side down on top of the wadding and quilt as desired.
or
- Apply fusible wadding to the wrong side of exterior panels. Quilt as desired.
Make the Boxy Pouch
Place one (1) exterior and one (1) lining panel RST, sandwiching the zip in between the two layers along the top edge (so that the front of the zip faces the exterior panel, with each end overhanging the fabric). Sew.
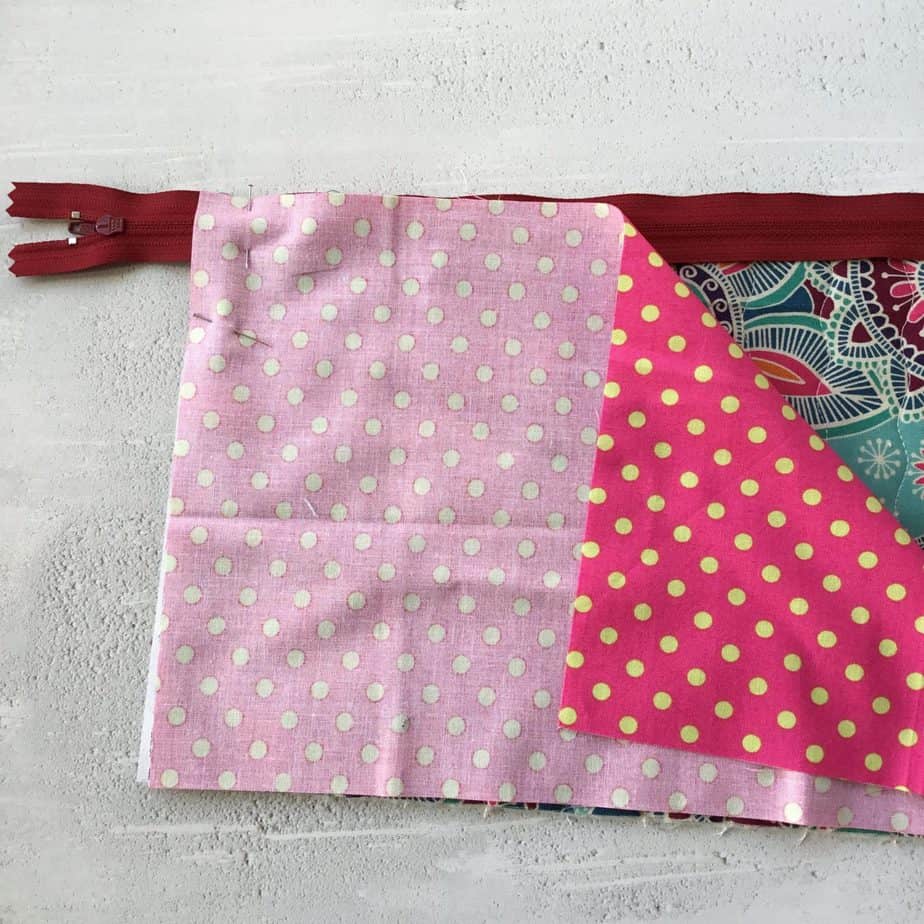

Open out the fabrics WST to reveal the zip. Repeat for the remaining side of the zip, matching outside panels RST and lining panels RST.
Press the Exterior and Lining fabrics gently WST on each side. Topstitch either side of the zip.

Pull the panel layers apart and place the exterior and lining panels RST.
Sew all along the bottom edge of the exterior panels.


For the lining fabrics RST, stitch along the bottom edge, leaving a 3-4” hole in the centre of the seam for turning through.
Sandwich the pouch layers together by matching the bottom seam of both panels with the centre of the zip (make sure that the zip is left at least half-open, for turning through later!).


TIP: I always start at the closed end of the zipper first (pictured left). When working with the open end, I pin each side of the zipper in position with the centre seam of the layer by layer to make sure that everything stays in place (pictured right).
If using, place a tab in between the zip and the exterior fabric at each end. Pin the edges together.

Sew across each short edge through all layers (I like to do two seams at 1/8” and 1/4″ for additional strength). Trim the excess zip from each end using non-fabric scissors!
Pull the pouch through the hole in the lining to the right side. Push each of the corners out and press lightly.
With the pouch lining facing you, draw a 1.5” square in each corner with a washable pen. Cut out carefully along these lines (I like to work on one end at a time to minimise fraying).


Starting at one end, press the corners of each square together to create a straight line. Pin in place. Sew. Repeat on the opposite side.


At the remaining end, take the handle and thread it through both holes, with the centre seam facing you. Match handle seam with the seam on the boxy pouch if you would like it centred. Press the corners together as before, and stitch.


TIP – To make sure that the handle is level, I like to place both sides together to check before sewing
To finish side seams either;
- Zig-Zag along each edge to secure them and stop them fraying. Trim any excess threads.
or
- Bind the edges;
- Take a binding strip and place it RST with the side seam edge so that the fabric overlaps equally.
- Stitch in place (I like to stitch from the other side so that I can follow the existing stitching line).


- Fold each raw end in, to enclose the edge of the sides seam. Fold the top edge down in half and then half again (to completely encase the seam), so that the folded edge overlaps the existing line of stitching. Pin/glue in place.
- Using a zipper foot, stitch in the ditch from the opposite side so that you just catch the folded edge of the fabric.
The final step is to place the lining pieces together, fold the raw edges over and stitch the hole – this can be done by either hand or machine.

And you’re finished. Hurrah! Turn your Neat Boxy Pouch right side out, fill and enjoy using!

I really hope you’ve enjoyed this tutorial. Don’t forget that if you would like to download an Ad-Free copy of this pattern it is available in my shop (ideal for EU customers) or on Etsy. And if you do make one, don’t forget to tag it #NeatBoxyPouch so that I can follow your progress on Instagram,
See you soon,
S x
Today’s sky::: overcast and grey. Miserable!
If you would like monthly news and updates, please sign-up to my newsletter.
To check out my quilt and accessories patterns, visit my Pattern shop.
For my favourite sewing equipment and tools, visit my Amazon store.