
Tutorial – Piecing a diagonal quilt back
Have you ever come across the technique of piecing a quilt back diagonally? It’s some cutting magic that means you can use less fabric to make a quilt back by effectively ‘stretching’ it width-ways. Magic, I tell you!
It’s a really efficient way of using fabric (bye-bye buying twice the finished quilt length in backing fabric or spending lots of time piecing a backing together!), especially for those throw sized quilts that measure just slightly bigger than a width of fabric, say 48″-60″ wide.
NOTE: This post may contain affiliate links, which means if you make a purchase I may make a small commission at no extra cost to you. You can read my full disclosure privacy policy here. Thank you.
I first came across this technique about a year ago when I was making the Wedding Quilt – I had some fabric which was Just Perfect for the backing, but not enough yardage to make the size I needed.
From what I can find, the idea of piecing a quilt back diagonally was created by John and Joan Flynn and works best with quilts that are no more than 1.5x the width of the backing fabric.
There is some maths needed to work out what yardage you will need. However, the quilt sizes that I have most often used this for are;
| Finished Size of Quilt | Amount of Backing fabric needed (assuming 44″ wide fabric) |
| 50″ x 65″ | 75″ (2.1 yards) |
| 55″ x 70″ | 93″ (2.6 yards) |
| 60″ x 75″ | 118″ (3.3 yards) |
If you are using extra wide fabric or making a different sized quilt, you can find a calculator here which does all the hard work for you!
For this quilt, I was looking for a backing that measured 52″ x 72″ and used a piece of fabric measuring 85″ (remember, that you want the backing to be bigger than the quilt to allow for basting and quilting).

Fold the fabric in half diagonally. This is a little fiddly – I would recommend taking your time and trying not to do it when there are kids running around as you definitely need a flat surface!
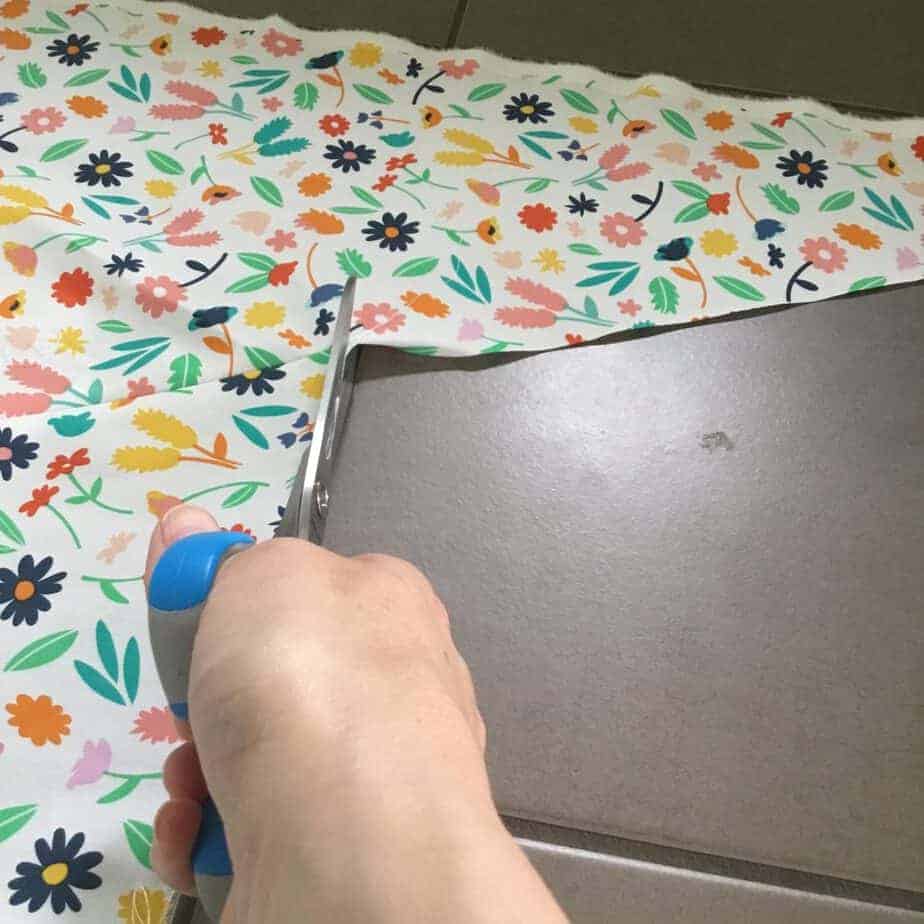
Cut along the diagonal line, to give two triangular pieces of fabric. You can do this with scissors, but my preferred method is to use a rotary cutter, ruler and cutting mat. Place the ruler on the fabric, leaving the fold showing and trim off a slither (about 1/8″) to cut the pieces.
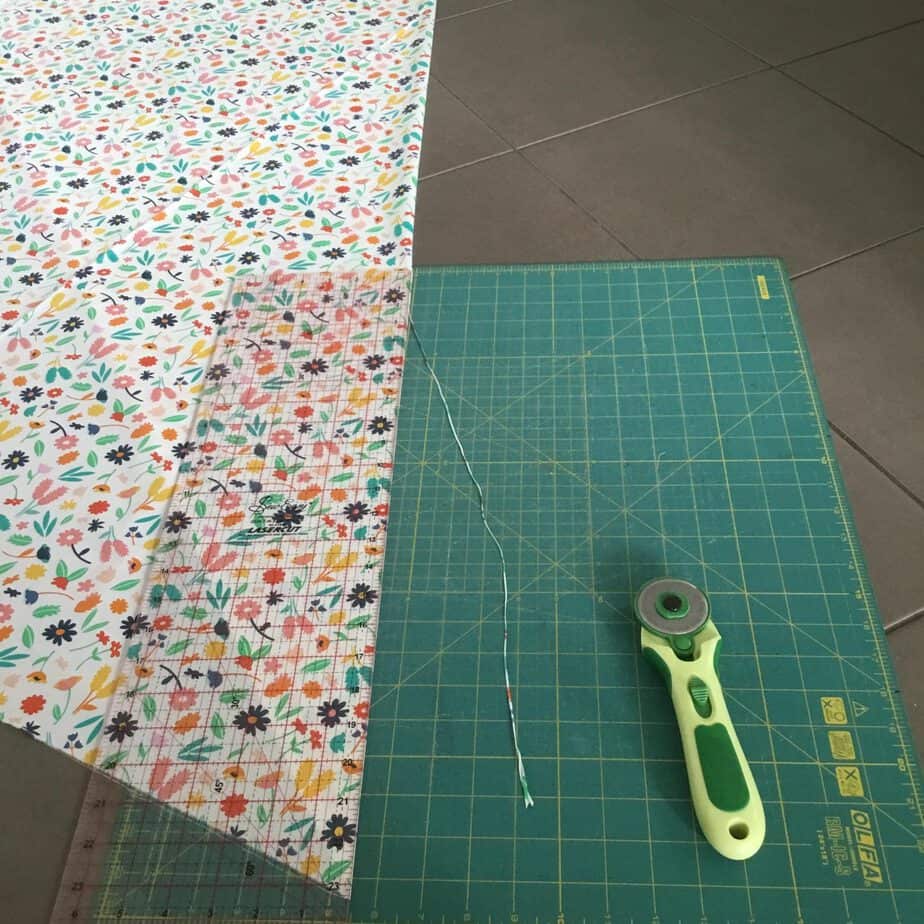
If you have a slippy floor (I was working on my tiled kitchen floor!), you can slide the mat along the floor under the fabric easily without ruching the fabric. It’s a lot quicker and more accurate than using scissors.
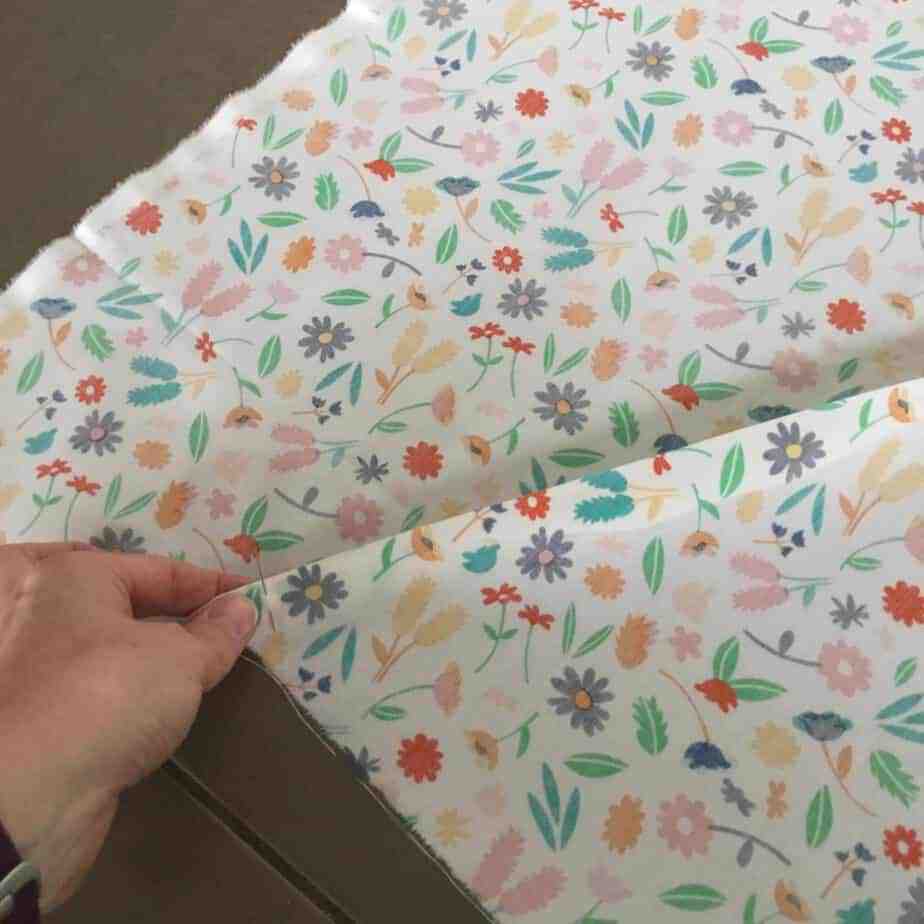
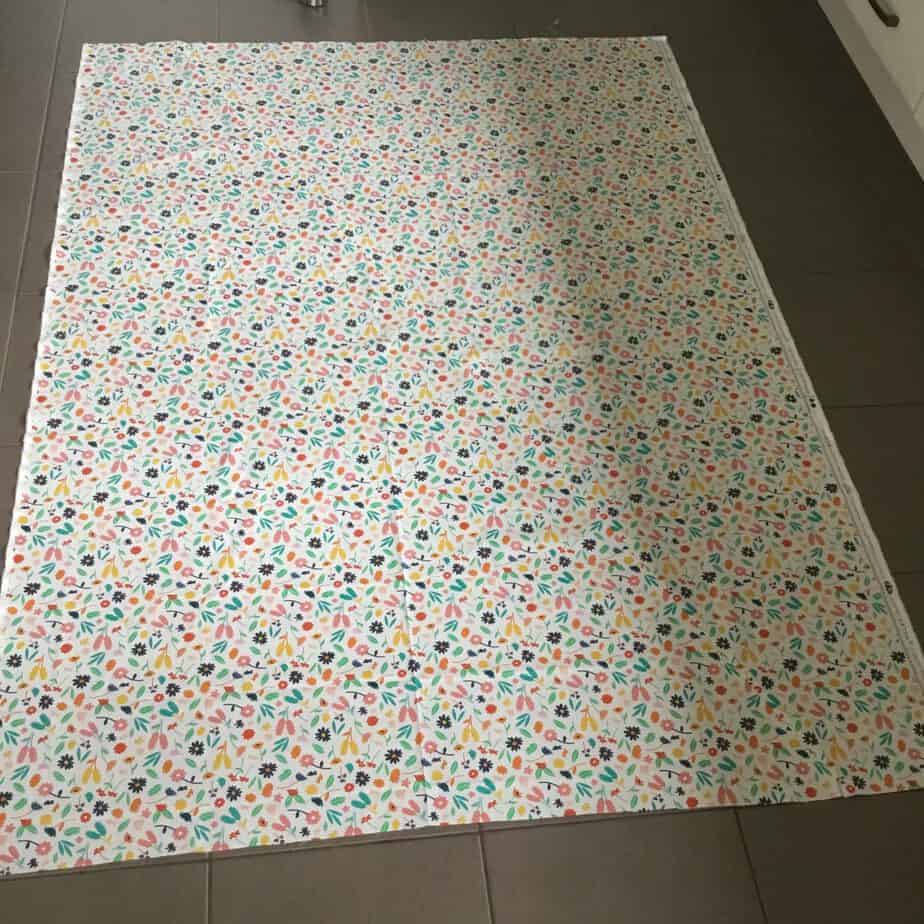
Fold the top fabric back, and then slide the thinnest point of one half away from the other (this makes the fabric wider and shorter).


Measure to double-check that the fabric is now measuring what you need (remembering to take into account the fabric that you will lose in the seam allowance).
At one end, pinch the fabrics RST and pin – I generally just use one to keep the fabric in the right position before sewing.
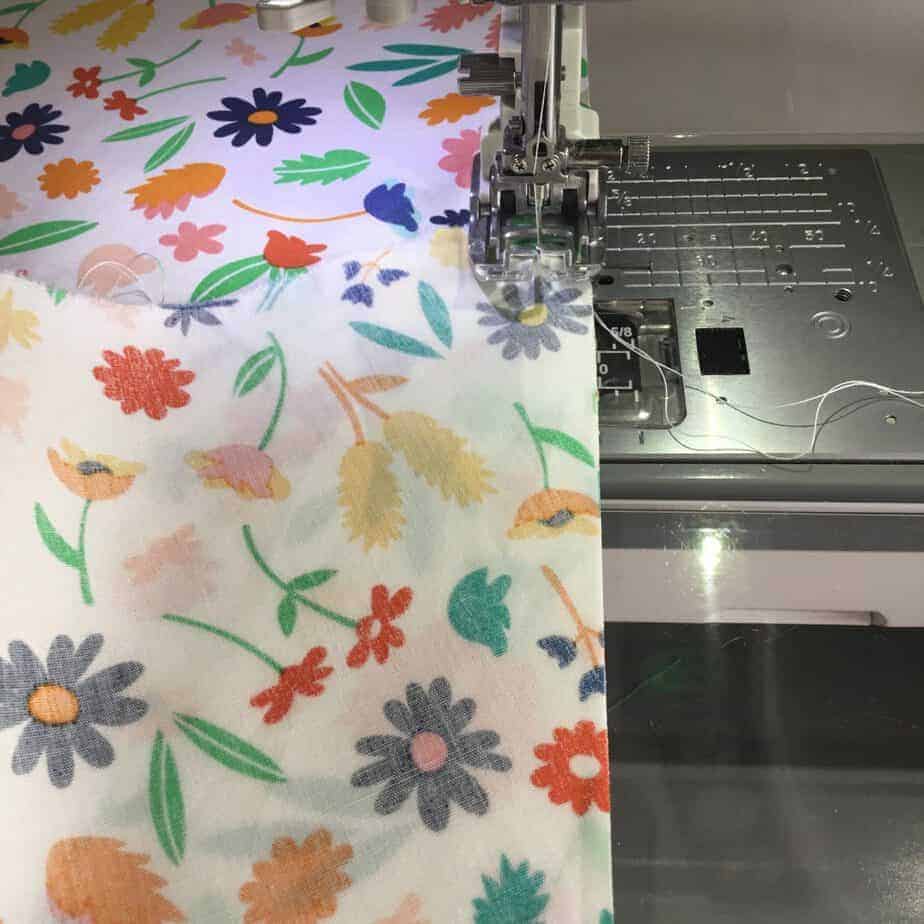
Using a walking foot and at least a 3/8″ seam allowance, sew along the seam. TIP – because the fabric is cut on the bias, be careful NOT to stretch the fabric as you’re sewing (a walking foot helps with this).
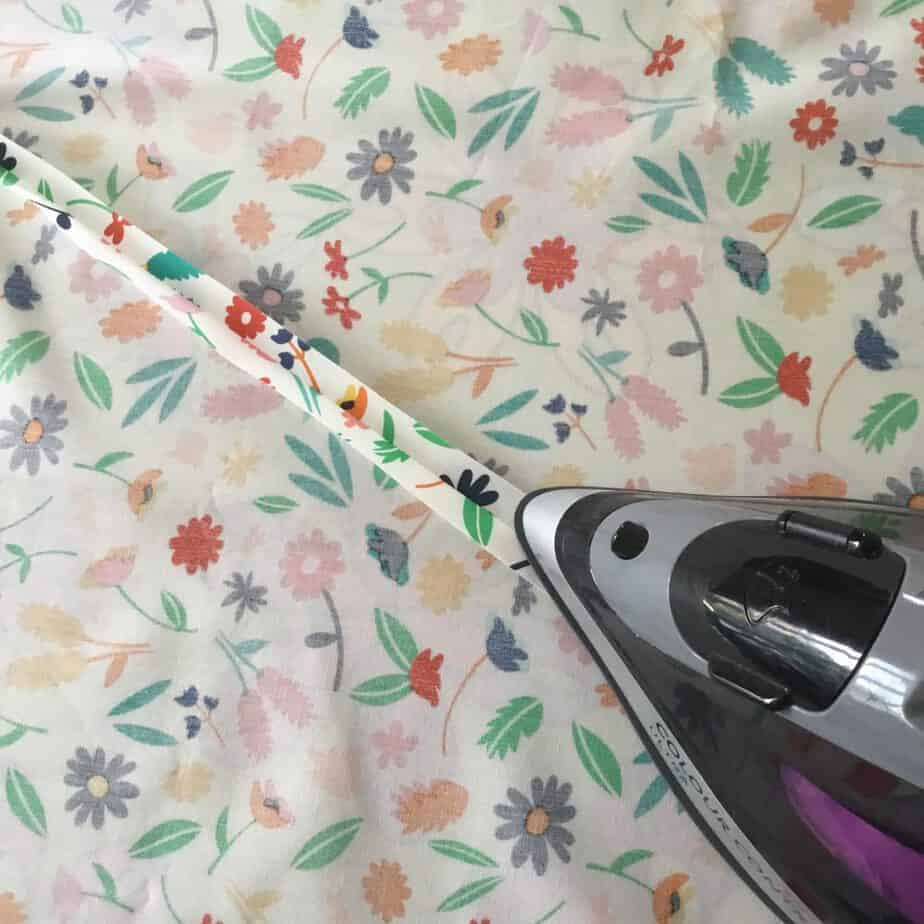
Press the seam open.
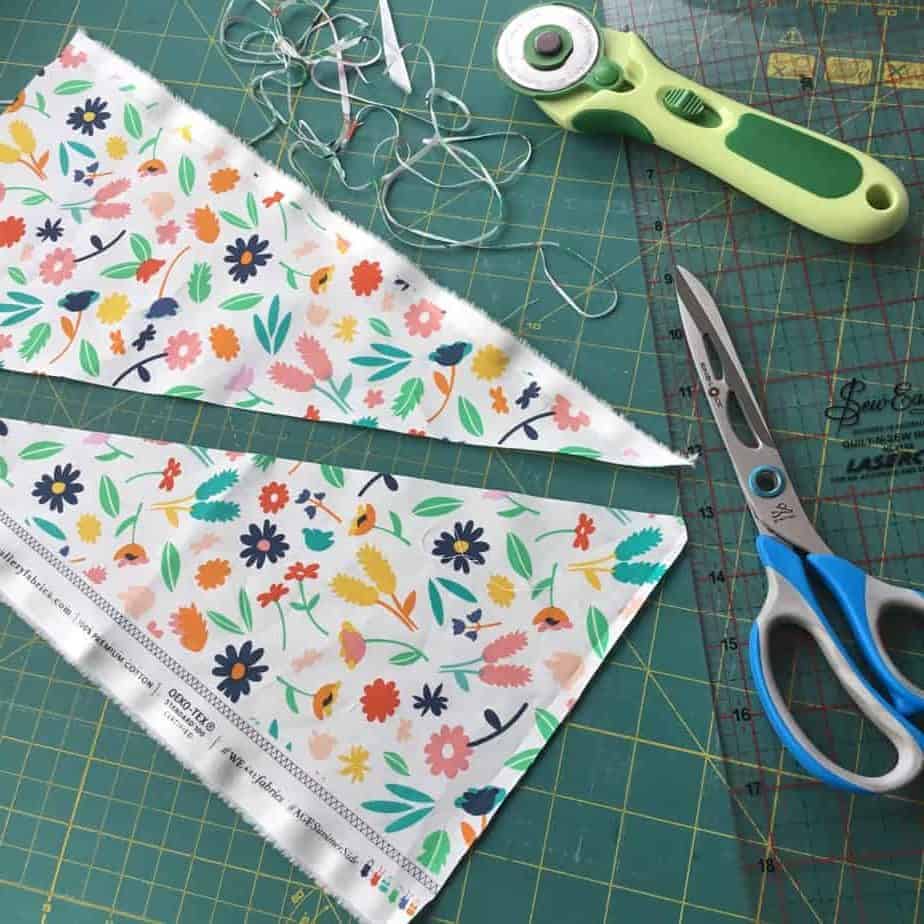
Square off each of the pointy ends – I like to use the grouting lines in my tiled floor as a groove for my scissors to sit in to achieve a straight (ish) line! It doesn’t need to be accurate at this point, I just don’t want the pointy ends getting in the way when I’m quilting!!!
And Ta-Dah! You’re finished and ready to make a quilt sandwich! And the seam is virtually invisible, especially if using a patterned fabric.
If you’re new to quilting or looking for some extra tips on how to finish a quilt, check out How to Bind a Quilt – it shows how to achieve perfect mitred corners each time and also includes a handy, free downloadable binding guide!
I’ve found it to be a great way of stretching yardage, it saves piecing a quilt back and is quick too! I hope you’ve found this useful – do let me know if you have any questions,
Speak soon,
S x
Today’s sky::: overcast and grey. Boo!
If you would like monthly news and updates, please sign-up to my newsletter.
To check out my quilt and accessories patterns, visit my Pattern shop.
For my favourite sewing equipment and tools, visit my Amazon store.
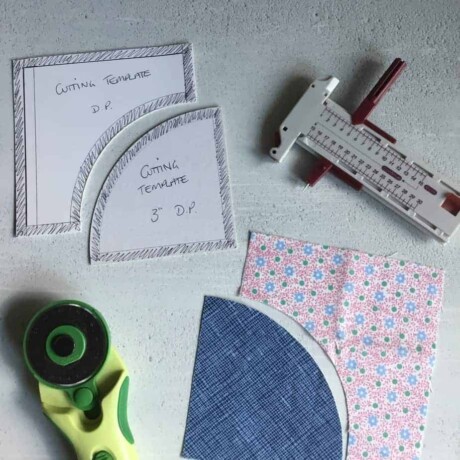
I use this all the time for quilt backs. I have the John Flynn’s equation to calculate the length. His way has you fold it into a bundle to cut on your cutting table (after you lay it out as described). When you don’t do it a lot, I made a paper template to fold and mark the cut edge and cut, to refresh my mind how to do it. A sheet of paper is a lot less than messing up your fabric. Only cut wrong one time with the folded bundle method.
I recently (2 weeks ago) had a pattern that went one way for my backing and it was about 4 inches too short across. I couldn’t think of a way to make it fit and eventually made borders. I wish i had seen this 2 weeks ago! Definitely bookmarking this page!
Hey Lorrie – such a shame that you didn’t find it for last time (although I’m sure the borders added a lovely finishing touch to your quilt backing!). This is such a fun technique, it’s definitely none worth remembering!!! Sx
Thank you for the clear directions and photos. Does this work with directional fabric?
Hi Brenda,
Thanks for your message! It would work with directional fabric because both pieces of fabric are still facing the same direction (we’re moving them along each other rather than turning them around) and I’ve found it works well with patterned fabric, although I have never bothered to match them and to be honest the slight discrepancies haven’t bothered me (probably because I’ve used quite a busy print). However, if your fabric has a very distinctive pattern repeat that you want to match, it’s more difficult to say how much fabric you would need as it would depend on the distance of the repeat etc. I hope that helps – do let me know how you get on!
S x
Thank you for the detailed instructions and photos! I decided to add a border to a quilt and now my backing is a little short. Want to try this method. However, I have a directional print that needs to be matched. Should I add extra fabric to allow for that?
Thank you for this, it worked beautifully!
I haven’t used this for a backing as yet since I can rarely afford the amount of fabric needed, even for this method . I will however use for my next scrappy quilt. I can make those rectangles that are too narrow into the squares I need! Brilliant!!
Great idea for scrap busting!
I have used John’s formula and the first time it was great. The second I did the math over and over and I knew it wasn’t right. I emailed to them and his daughter answered me to help me get it right. It is a great way to conserve fabric.
That’s great that they offered support!
I was so looking forward to using this method. I made the the mistake of folding my fabric opposite corners diagonally together instead of in half diagonally. I’m going to see so it about together and do it over. I’ll have a weird seam, but lesson learned.
Oh that’s a shame – it is a bit of a head-scratcher the first time you do it. Am pleased you’ve managed to find a way around it this time! x
Thanks for sharing. I thought this might be possible and with your great instructions it is. I will try it soon as I thought that I might have to make borders around the back. This would work much better and make me much happier to stretch the back fabric in this neat way.
Ah great! This is my favourite way of backing quilts now and I love that it is so speedy and economic with fabric! x
Yes keep forgetting about this method.thanks
Oh yay! Glad it helped to remind you. It’s such a useful technique x
This is genius – I recently bought not-quite-enough end-of-bolt to back a quilt and have been scratching my head how to stretch it to fit, so this looks perfect for my needs!
Excellent – I hope it helps you out! It’s helped me out of a few tight spots!!!
Awesome!!! Sew happy to learn this trick since my favorite charity requests quilts 55″ x 65″. I think this diagonal seaming is going to be nicer loaded on the longarm. Win-win! Thanks again.
So glad it was useful! And yes, great for charity quilts and hopefully easy to load on your longarm!!!!
Wow – this is the coolest thing I’ve seen in ages. This technique would have saved me a lot of grief on a few of my past quilts! Am bookmarking for future.
Thank you!
Hi Nicole! Am so pleased you found it useful and yes! It’s revolutionised the backing of my quilts too!!!! Sooooo much easier!