New Pattern – Big Pocket Advent Calendar
Today I thought it would be good fun to share my Big Pocket Advent Calendar sewing pattern with you……talking about it in September seems a little soon, but I’ve seen Christmas Cards in the shop so I guess that almost makes it okay?!
This pattern had been simmering in my mind for a little while, to be honest. For years, I’ve been looking at the advent calendar panels that you can buy – they’re all so lovely and they look like the start of a fun family tradition….. But! I never fancied making three. Let alone have the wall space to hang them all!
The pockets were never quite big enough to squeeze enough in to get away with making just the one and as Boy 1 is allergic to dairy, I wanted to be able to squeeze in alternative treats too. The only option was to DIY my own Advent Calendar!
Last year, I finally managed to carve out some time to create a pattern and so the Big Pocket Advent Calendar was born!
Sew your own Advent Calendar!
The Big Pocket Advent Calendar pattern has pockets big enough to fit three packets of Haribo and can be re-used every year, making it a perfect gift for family members, or the start of a wonderful family tradition.
It’s designed so that the sides of the pockets expand which means you can fit some generous size chocolates or small gifts, if you so wish (last year I managed to squeeze in three pairs of socks, but it was quite tight and seeing that my kids feet keep on growing, I don’t think that will be happening this year!!!).
The bit I love about making my own advent calendar is personalising it. I used a couple of different coloured sets of iron-on felt numbers with a glittery felt background and some hand stitching.
There are so many different options though! Would you like to see some of the lovely things I found?! For something completely different, how about these Metal Number Tokens which I think would look amazing sewn on to each pocket for a vintage/steampunk look.


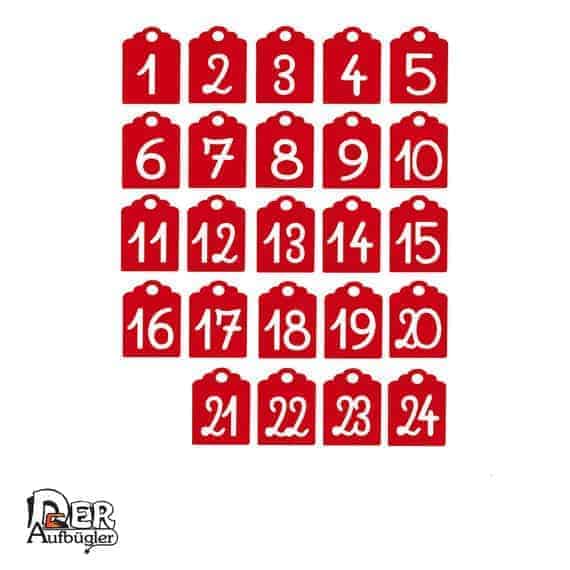
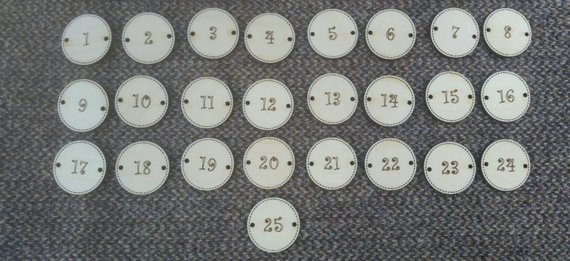
The iron-on luggage labels are an alternative to normal numbers and I especially love those wooden tags for a more shabby-chic style advent calendar – I think they would look fab sewn to the front of each pocket. Or you could hand embroider or applique the numbers or pictures on. The possibilities are endless!
The advent calendar finishes at 20″ wide by 44″ deep. I included tabs so that it could be hung from a thin branch of some sort – I was definitely going for a Scandi look when I made this version! – and it hangs nicely on the back of the under-cupboard stairs door that we have.
Here’s another version of the calendar that Rebecca (IG @GreenandBell) made – I love how she has made it so bright and modern and added more trees at the top! You could even add different pictures, ‘Merry Christmas’ or your family name?!
If you are thinking of sewing a Big Pocket Advent Calendar, don’t forget to check out the Big Pocket Calendar Sew-Along for additional hints and tips for sewing the pattern.
If you would like to make your own version of the advent calendar, please visit my shop here (for EU customers) or Etsy here to buy a download of the pattern. And if you do make one, don’t forget to tag it #bigpocketadventcalendar so that I can see it!
Back soon,
S x
Today’s sky::: overcast and grey. Meh!
If you would like monthly news and updates, please sign-up to my newsletter.
To check out my quilt and accessories patterns, visit my Pattern shop.
For my favourite sewing equipment and tools, visit my Amazon store.


Hi, like Becky above I am having trouble making sense of the instructions on how to attach the pockets, neither the printed instructions nor the follow-along go further than attaching the bottom row of pockets, which I have done. Do I attach another row of pockets to the same piece of backing material as the bottom row? Is there another tutorial that shows how to attach the rest of the pockets? Do I attach one row to each of the background strips?
Hi Marion,
Thanks for your message. Yes, you attach a pocket strip to each background strip – in the sew along posts I include a video of the pocket being sewn in position (see here) I hope that helps,
Thanks,
Sonia
Can you help me? I am stuck on following this pattern. It doesn’t make sense starting with step 13 and there are not enough photographs to show what you are doing. Is there a tutorial? I am so frustrated and have read over and over! HELP!!!
Hi Becky – sorry to hear you’re having problems. I will be covering this in the SAL on Thursday and will email you too. Thanks, Sonia