Half Rectangle Triangles: Tips and a Pincushion Project
Hello! And welcome if this is your first visit to my little space on the internet as part of the #KeepCalmBritHop. Today I’m sharing a step-by-step tutorial for how to make Half Rectangle Triangles and how you can practise this technique to make a quick pincushion project.

I L-O-V-E sewing and inspiring others to pick up needle and thread (if you are at all interested, you can read more about me here!).
I have always found that sewing helps to keep me calm – it’s my way of practising mindfulness – and, being a little bit of a geek, I love breaking things down and making them easy to understand.
Half Rectangle Triangles – like Half Square Triangles (HSTs) – are a really fun and versatile block.
If I haven’t made any for a while though, there are always a few moments of sitting and thinking as the pieces are arranged in quite a different way, and always look like they won’t work!!! So, I thought I’d put together a quick tutorial.
How to make Half Rectangle Triangles of any size!
To make your block, you will need two pieces of fabric;

This tutorial assumes that you are using the same border fabric (Fabric B) for both sides of the block. However, if you want to make a scrappier version, cut;
- Two (2) X” x ((Y” + 1/2″)/2) Fabric B
- For example, if Fabric A measured 5″ x 3.5″, you would cut two (2) 5″ x 2″ Fabric B
Mark fabric pieces for Half Rectangle Triangles
Fabric A: Mark the central point on the top edge (this can be done by folding the fabric in half) and place Right Side Up.
Fabric B: Draw a diagonal sewing line on the Wrong Side of Fabric, making sure that they are opposites eg. corners 1-3 and 3-4, as shown below.

Place Fabric B pieces Wrong Side Up as shown, making sure that the bottom corner of the diagonal line (Corners 3 & 4) match the bottom corners of Fabric A.
Sew the Half Rectangle Triangles together
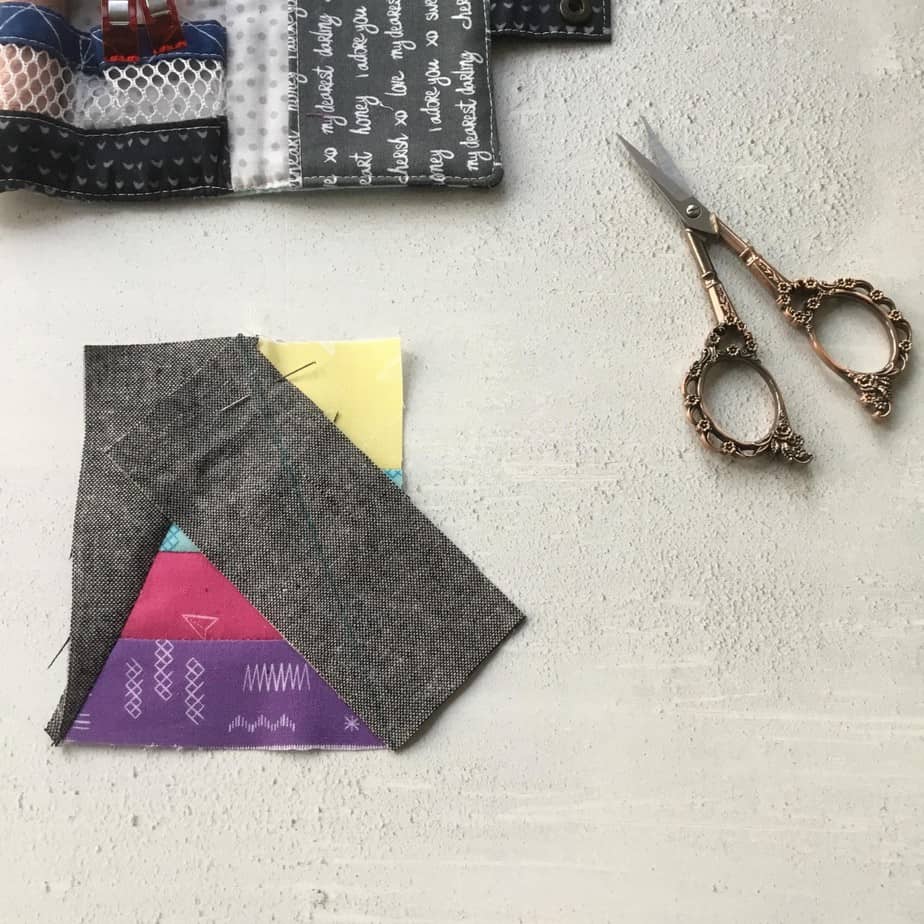
Starting on the Left Hand Side of the block, pivot Fabric B from the bottom corner, until Corner 1 meets the central mark on Fabric A. Pin in position.
Sew along the diagonal line that is drawn on Fabric B.
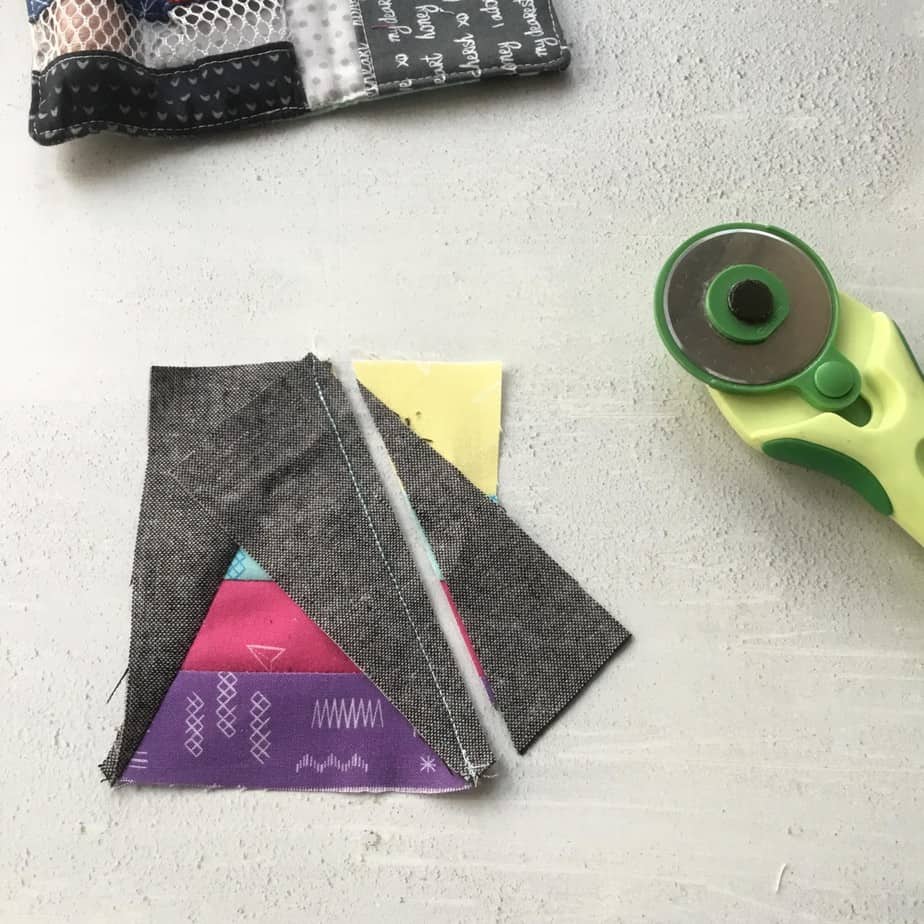
Note: Fabric B will over-hang Fabric A a little bit at the top and bottom. This is due to the rotation of the shape and means that when Fabric B is folded back you will have a nice rectangle and seam allowance.


Use a quilting ruler and rotary cutter to trim excess fabric, leaving a 1/4″ seam allowance.
Press Fabric B up.
Repeat the above steps for the remaining Fabric B piece, pivoting until Corner 2 meets the centre mark on the top line.

Half Rectangle Triangle Pin Cushion: mini project
To demonstrate the half rectangle triangle, I made a quick pincushion using scraps of fabric I had to hand. I love small projects like this for trying out new techniques, boosting my sew-jo and they also make great little gift/swap items if you have any sewists in your life!
To make a pincushion just like this, you will need;
- Fabric A: 4.5″ high x 3.5″ wide (I sewed skinny scraps together)
- Fabric B: 4.5″ high x 4″ wide (sub-cut in to two (2) 4.5″ high x 2″ wide)
- Pincushion Backing: 4.5″ high x 3.5″ wide
- Piece of Wadding: approximately 5″ high x 4″ wide
- Stuffing: crushed walnut shells or wadding scraps
Make the Half Rectangle Triangle block as described above.
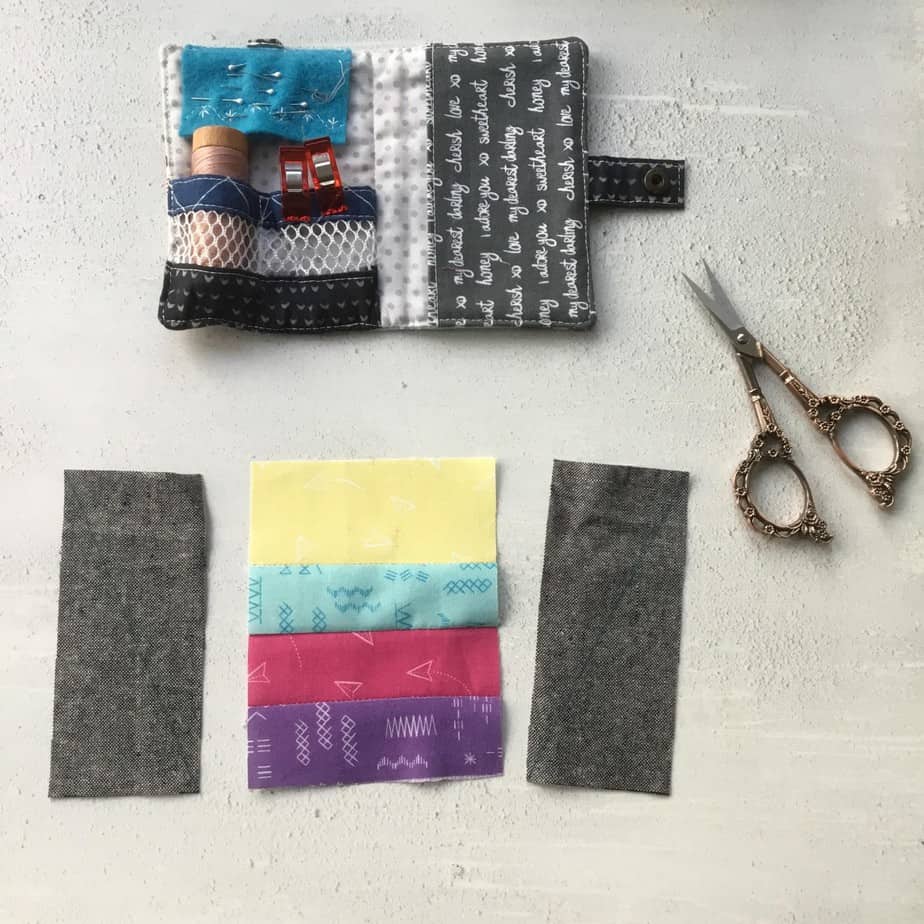
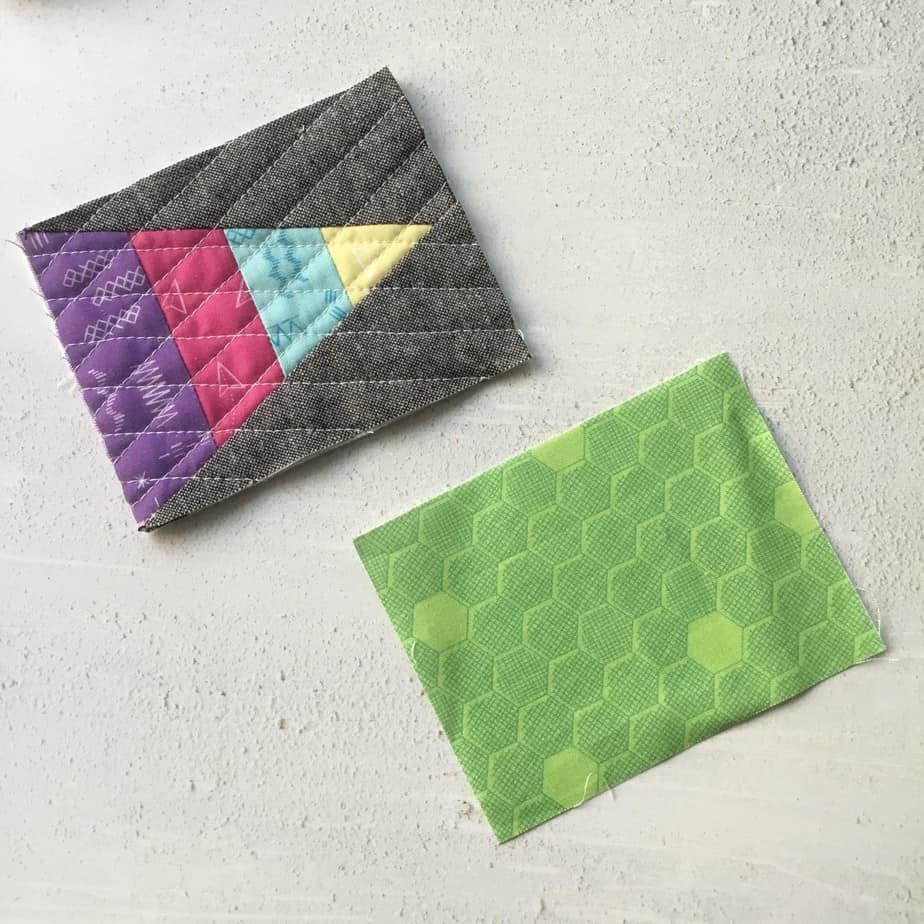
Lay the finished block on some wadding and quilt as desired – I echo quilted the border triangles.
Place the backing fabric and pincushion top Right Sides Together, and pin in position.
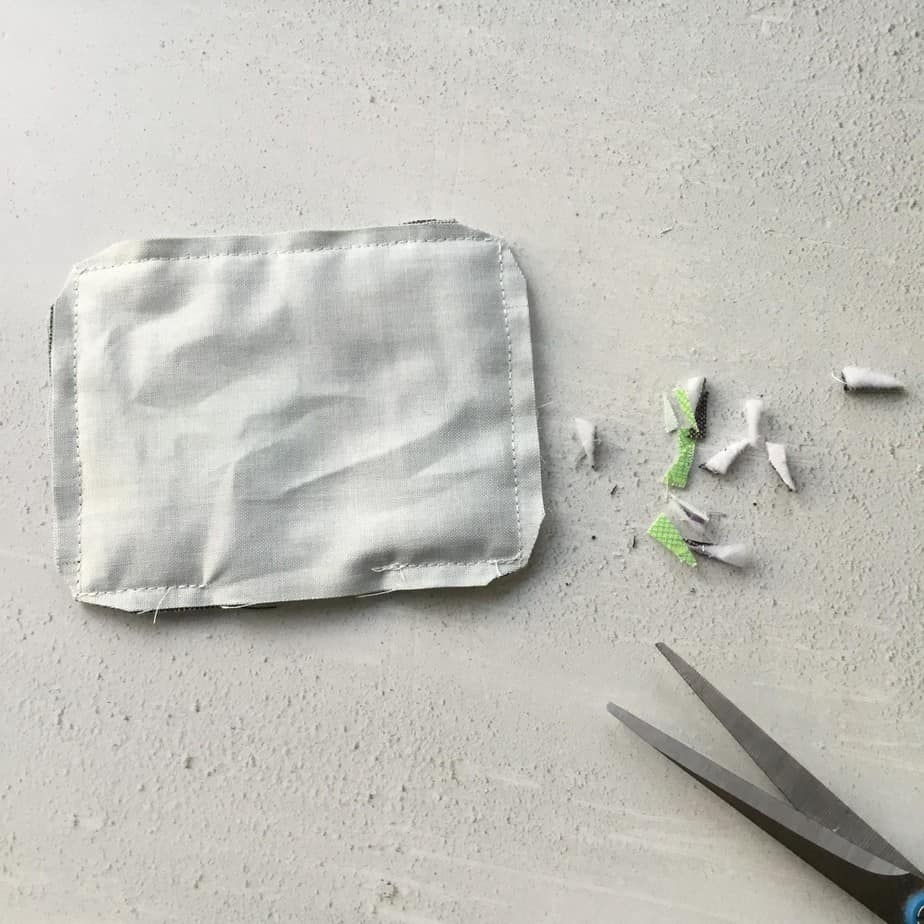
Starting on one of the long sides, begin stitching all the way around the edge of the fabric, leaving a 2″ gap for turning through.
Trim excess fabric from each of the corners (I like to snip at a 60* angle) before turning the pincushion through to the right side, and use a chopstick to gently push out each of the corners. Press.
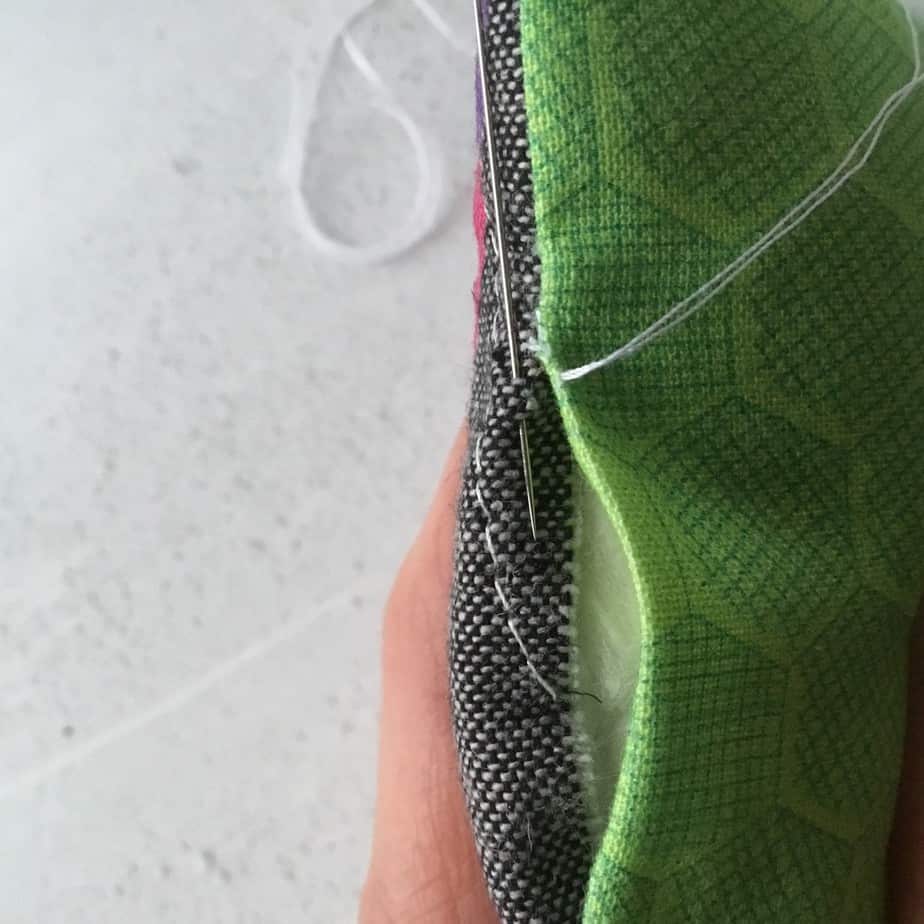
Fill the pincushion with a stuffing of your choice (crushed walnut shells help to keep your pins sharp) before slip-stitching the opening closed.

I hope you’ve enjoyed learning about Half Rectangle Triangles, and if you are inspired to make anything, then please tag me and let me know – you can find me on Instagram @fabricandflowers.
You can find more tutorials here or visit my pattern shop here.
Also, don’t forget to go and check all the other fabulous creators and business on the #KeepCalmBritHop;
- Saturday, 28th March: Jo Westfoot | The Crafty Nomad
- Sunday, 29th March: Amy Ball | Coffee Rings Studio
- Monday, 30th March: Jo Hendy | Villavin Crafts & Retreats
- Tuesday, 31st March: Nicola Dodd | Cake Stand Quilts
- Wednesday, 1st April: Rachel Concannon | Rachel’s Textiles Studio
- Thursday, 2nd April: Lou Orth | Lou Orth Designs
- Friday, 3rd April: Sonia Spence | fabric & flowers
- Saturday, 4th April: Fi | Pins & Needles Grayshott
- Sunday, 5th April: Sarah Ashford | Sarah Ashford Studio
- Monday, 6th April: Abigail | Cut&Alter
- Tuesday, 7th April: Karen Lewis | Karen Lewis Textiles
- Wednesday, 8th April: Joanna Kent | Crafty Quilter
- Thursday, 9th April: Jo Avery | Jo Avery Stitch
- Friday, 10th April: Round Up Post | The Crafty Nomad
I hope you’ve enjoyed this post – do sign-up to my newsletter if you’d like to keep up to date with my sewing adventures, and if you have any questions then do drop me a note!
See you soon,
S x
Today’s Sky::: mostly overcast
If you would like monthly news and updates, please sign-up to my newsletter.
To check out my quilt and accessories patterns, visit my Pattern shop.
For my favourite sewing equipment and tools, visit my Amazon store.