Making Boro Patch Coasters
One of the sewing trends that I’ve been enjoying the past few years is Sashiko and Boro Stitching. I’ve always loved hand-stitching anyway (hello! Mindful Quilt Along!) and the idea of not wasting any fabrics has been playing on my mind a lot more lately.
Apparently ‘Boro’ comes from the Japanese boroboro, which means something tattered or repaired. Boro has come to mean the rework and repairing of textiles by piecing, patchwork and stitching (source: V&A)
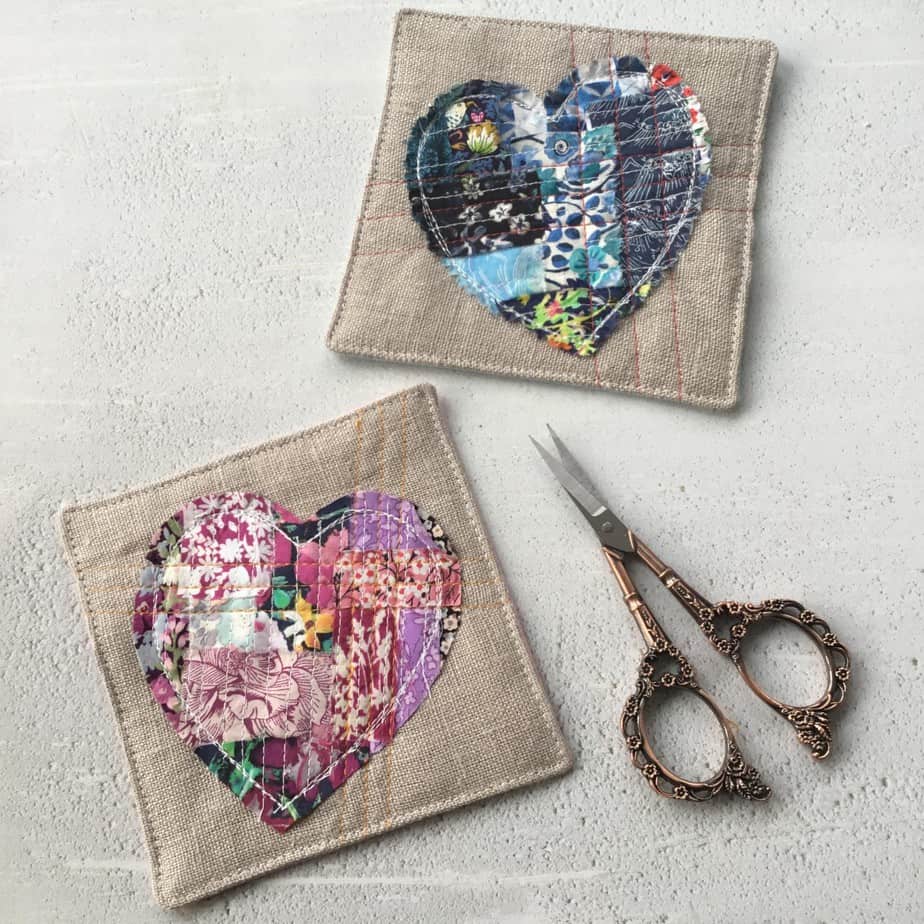
NOTE: This post may contain affiliate links. You can read my full disclosure privacy policy here. Thank you.
As a quilter, I seem to have amassed quite a lot of scraps over the years. I generally keep anything bigger than 1.5″ square, but there are some fabrics – like Liberty – where I just can’t quite bear to throw any of it away!
I’ve been thinking of making a little Valentine’s present for some good friends, and earlier this week I was suddenly struck with some inspiration for how to combine my fascination of Boro Stitching with my love of a quick project.
Table of Contents
Materials needed
- Selection of scraps of various sizes (I love using Liberty fabrics as the delicate prints lend themselves really well to the smaller shapes – you can grab scrap packs here and they go a long way!)
- Cotton for backing
- Two (2) x 5″ squares of fabric for front/back of the coaster
- One (1) x min 5″ square of wadding
- Fabric glue stick
- Scissors (I used these, these and these!)
- Seam Ripper (I love this one!)
Finished coaster size: 4.5″ square
Make Boro Patchwork Fabric
As I’m making a Valentine’s coaster, I wanted to make a heart, but you could use this idea for any shape, or even make a larger panel!
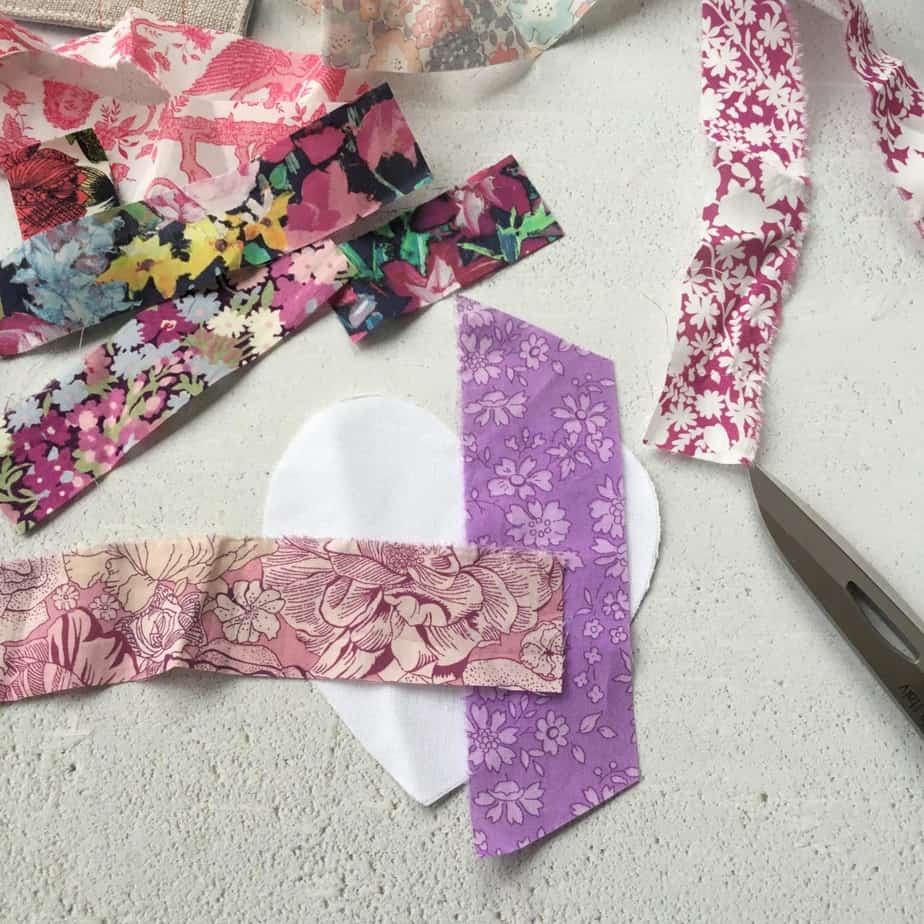
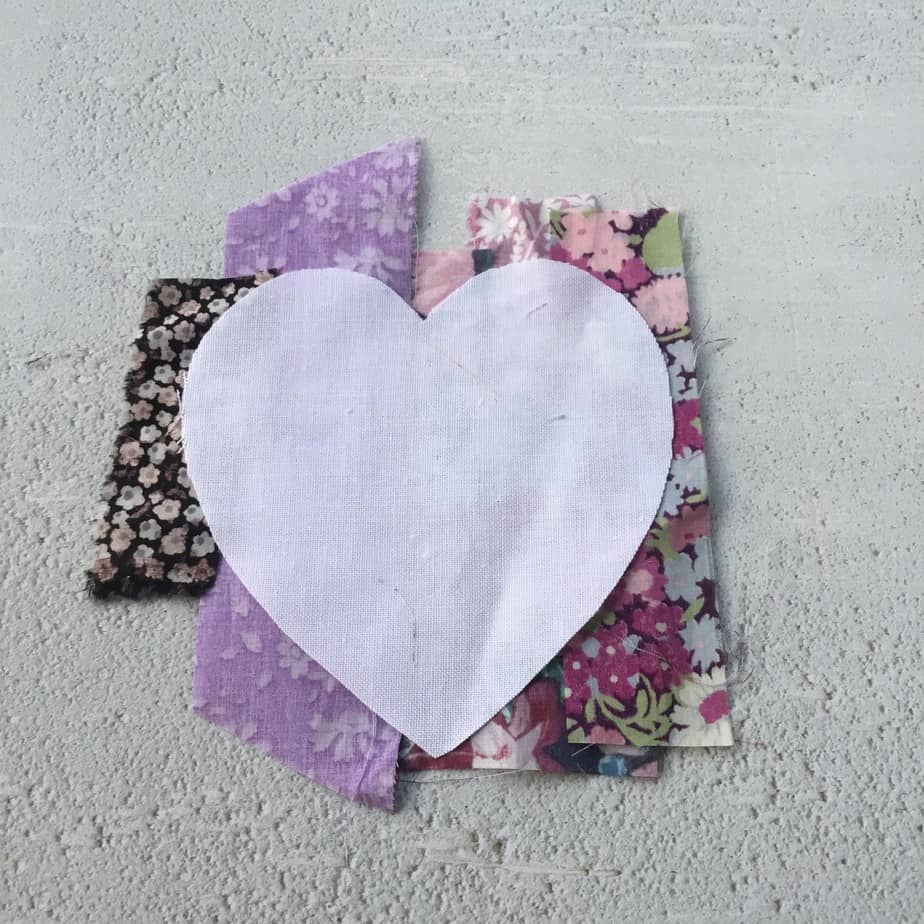
Draw an outline of the shape that you want to make on a piece of scrap cotton fabric (I used some white fabric and a cookie cutter as a template).

Take your scraps of fabric and lay them over the fabric template. The idea is to cover the whole piece of fabric with some overlap of the edges so that it can be trimmed to size later.
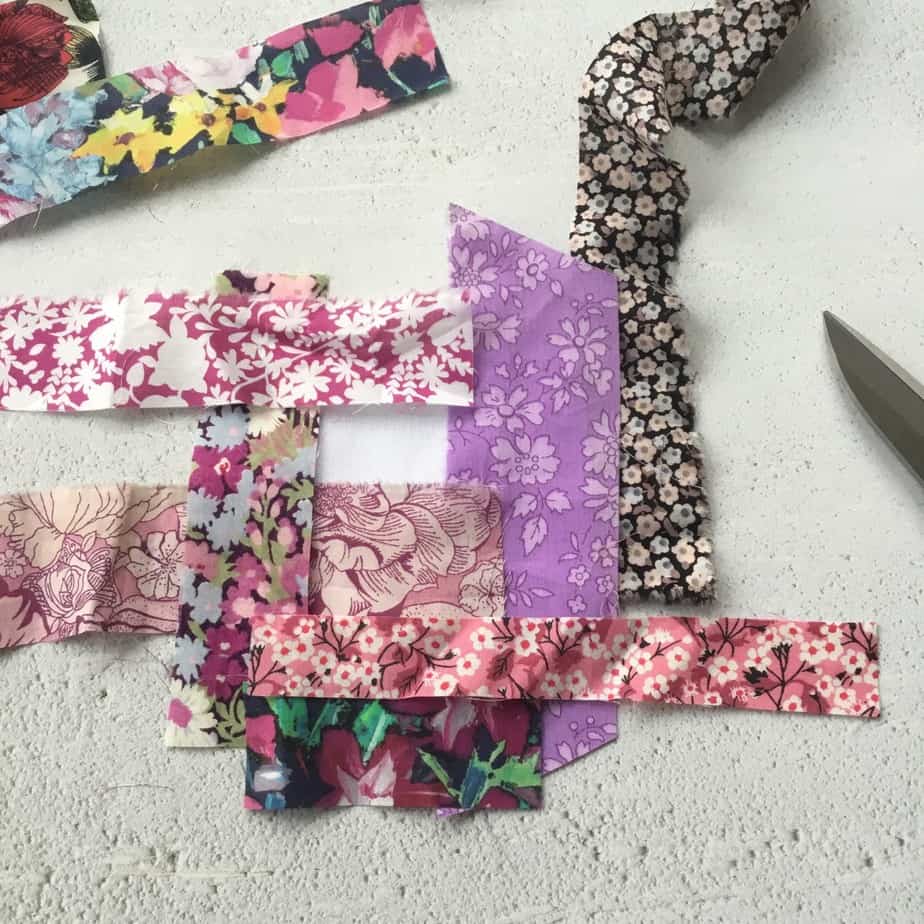
Stitch the fabrics in place – I used a sewing machine and stitched lines, all running in the same direction, and without securing the beginning/end stitches.
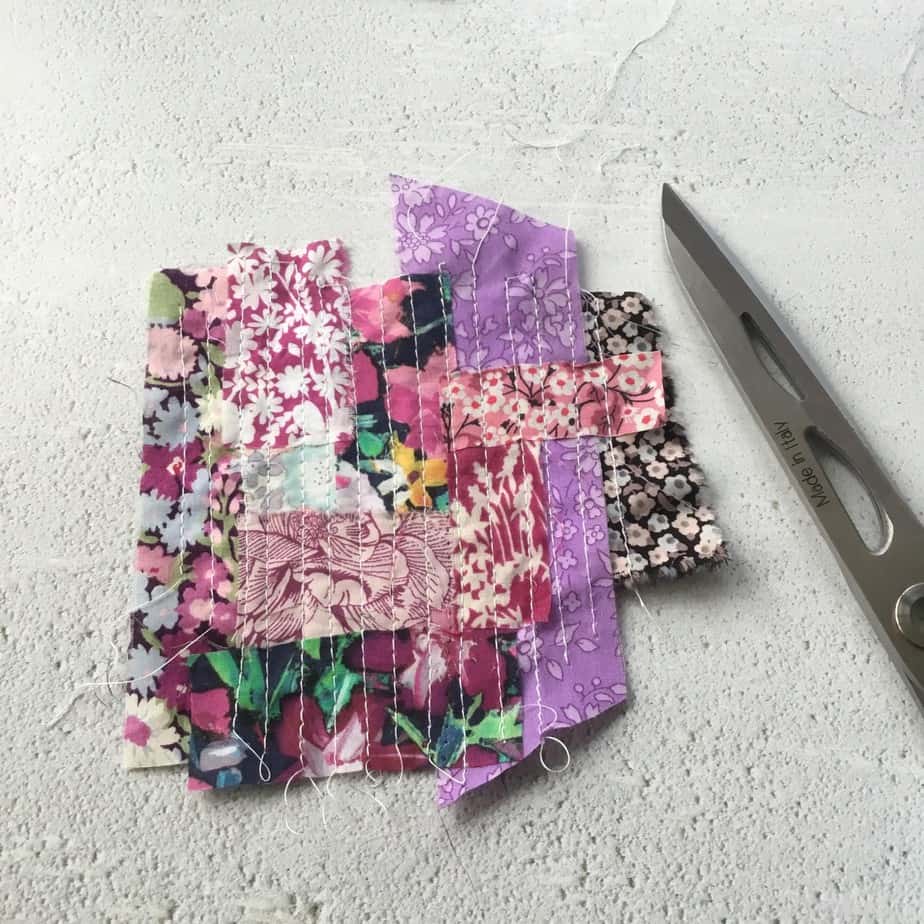
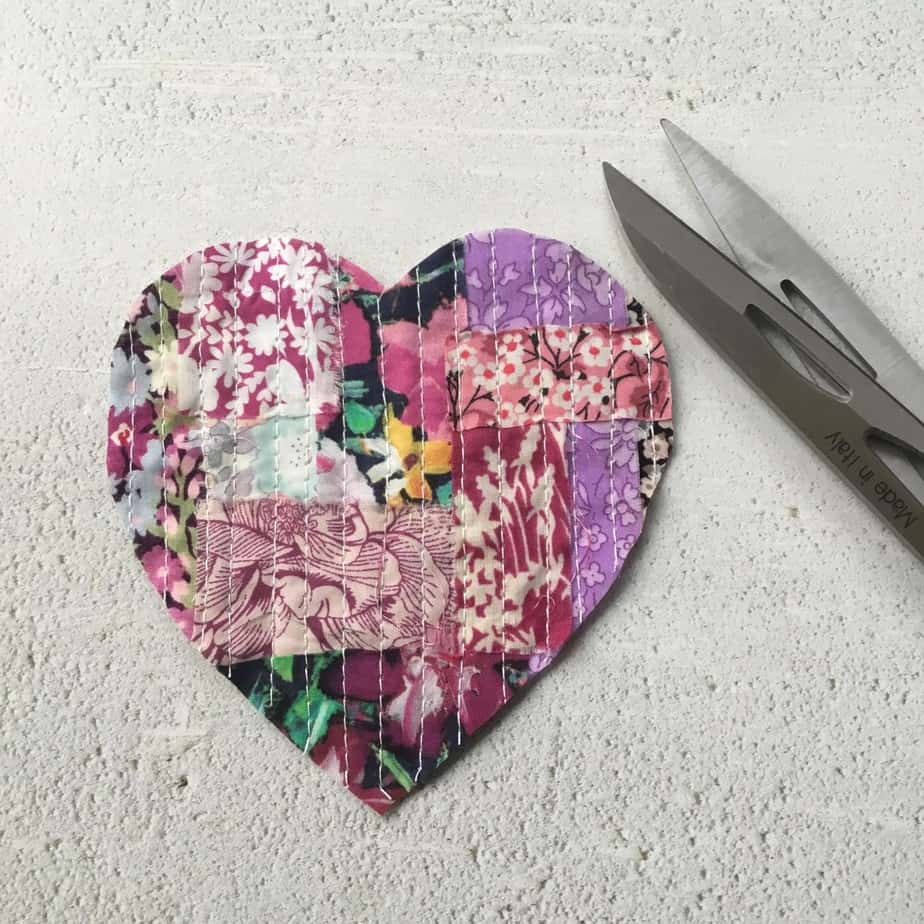
Using a 1/4″ seam allowance, stitch around the edge of your shape.
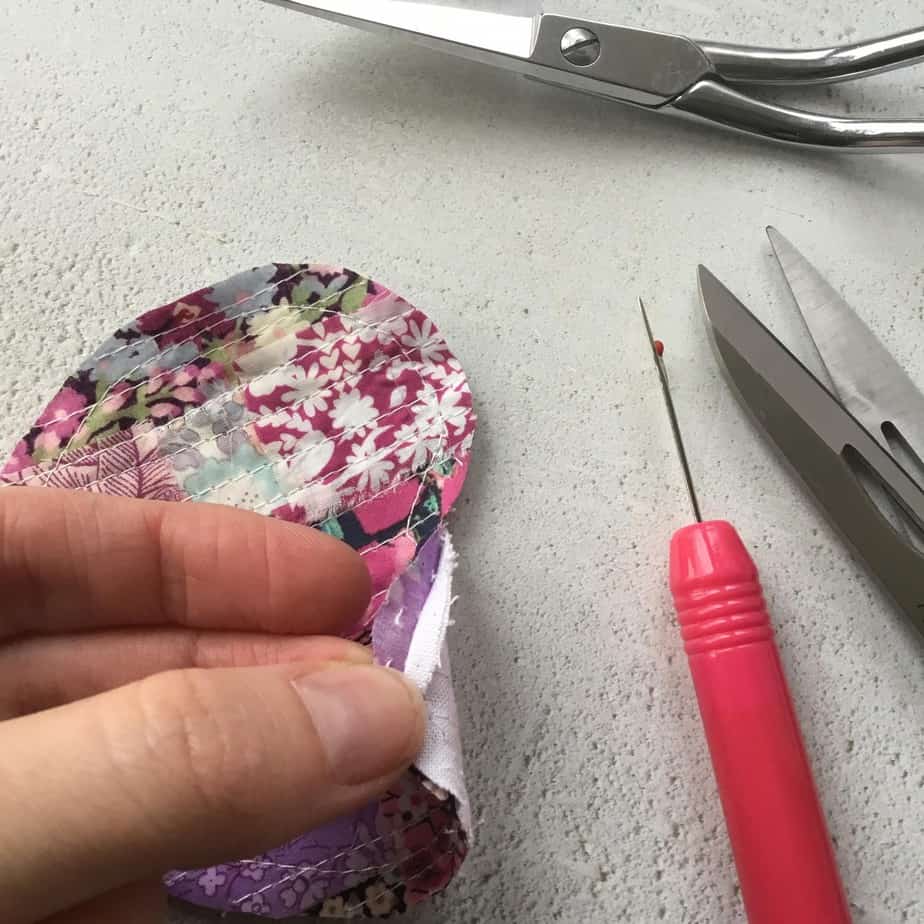
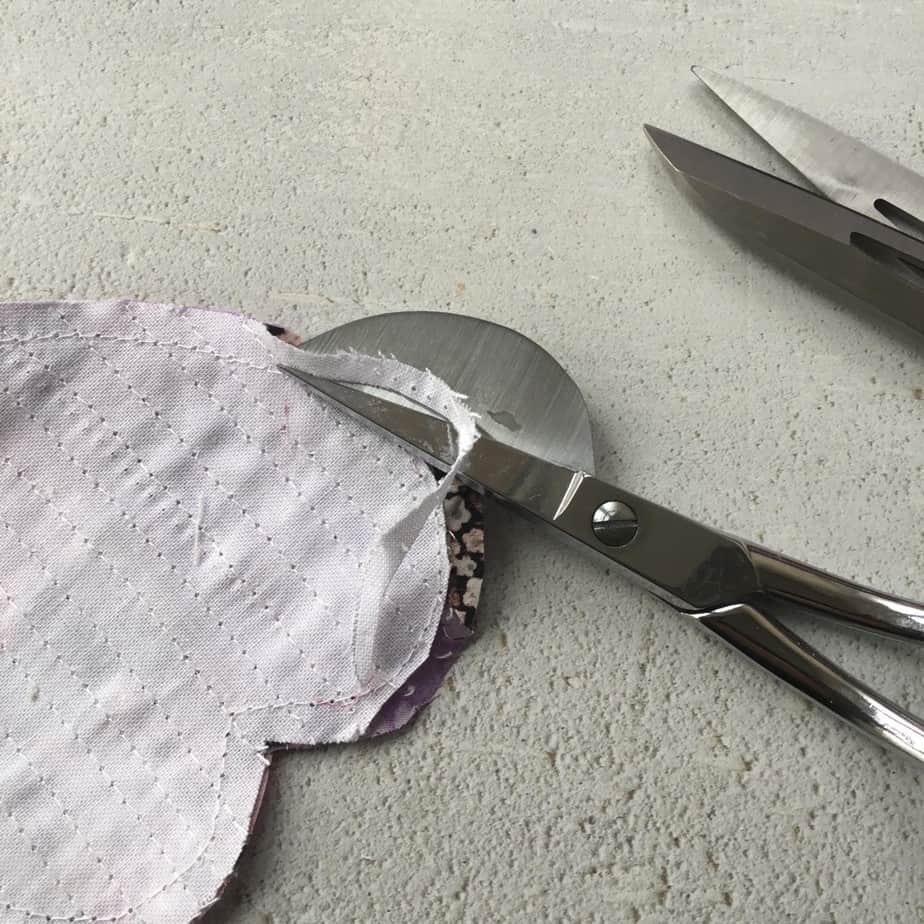
Gently pull the patchwork front away from the backing fabric and trim away the excess fabric – I find these scissors are excellent at allowing close trimming and prevention of the patchwork panel being snipped!
Check out the Boro Patch Motifs mini-workshop for more hints and tips!
Making the Coaster
Take a piece of wadding, place wrong-side down on a worktop, before placing the coaster front piece on top (Wrong Side down)
Place the patchwork shape wrong side down on the top of the coaster and pin in position.
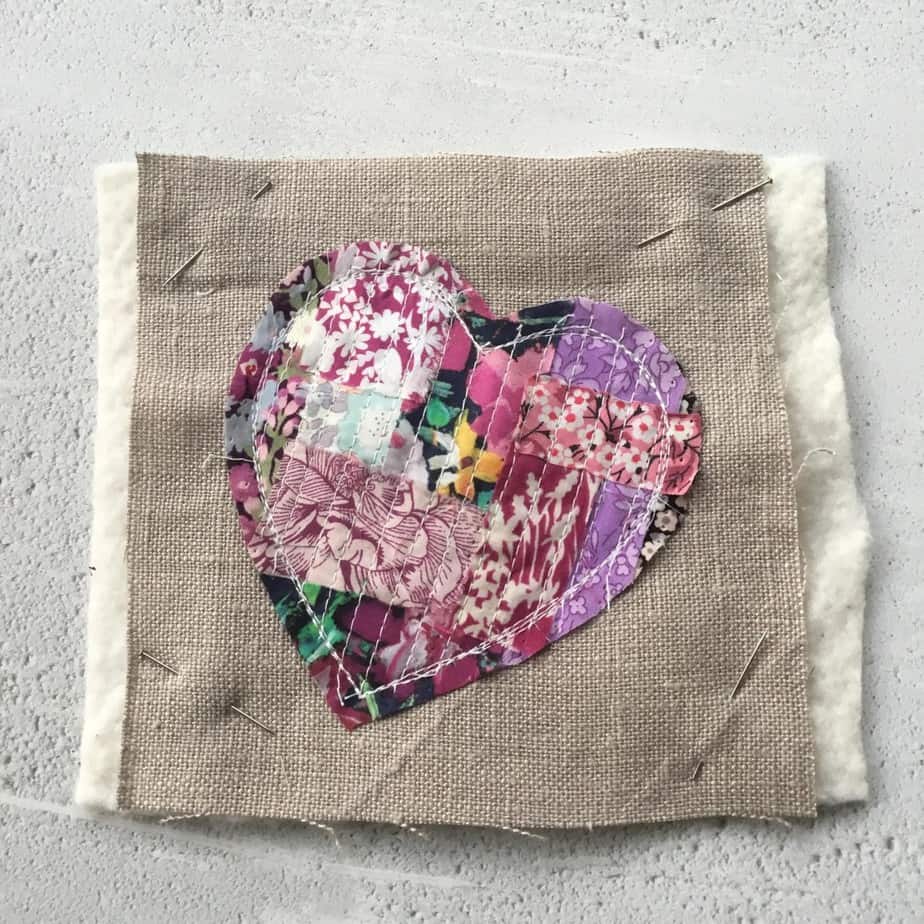
Quilt as desired. I edge-stitched around the patchwork shape a couple of time and then added some decorative lines across the whole coaster – some of the stitching was done to secure bits of fabric that had particularly loose edges!
Finishing the Coaster
Place the coaster back Right Sides Together with the coaster front and pin in place. With a 1/4″ seam allowance, begin stitching just before a corner, and go all the way around the coaster leaving a c. 2″ gap for turning.

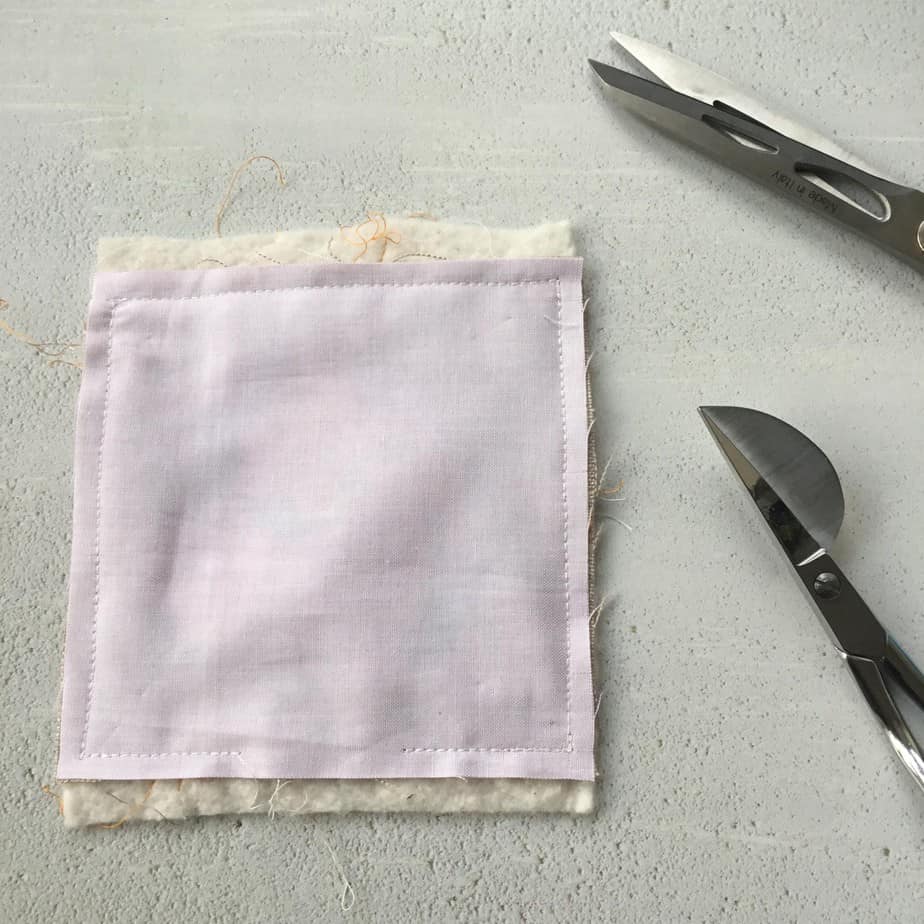
Trim the excess wadding from the edge of the coaster (using these scissors again!) and the corners.


TIP – I like to trim my corners at quite an angle (probably 60*) as I find this gives a really nice, flat corner once they are turned through.
Turn the coaster through the gap and gently push the corners out. Fold the open edges in and give the coaster a good press.
To finish, edge stitch around the coaster to secure the layers together and close the gap.


To fray the edges, use small, sharp scissors to snip the fabric every 1/4″ around. Then, agitate the edges to encourage fraying – I found using the end of my seam ripper worked brilliantly for this!
And there we go….all done!!!!
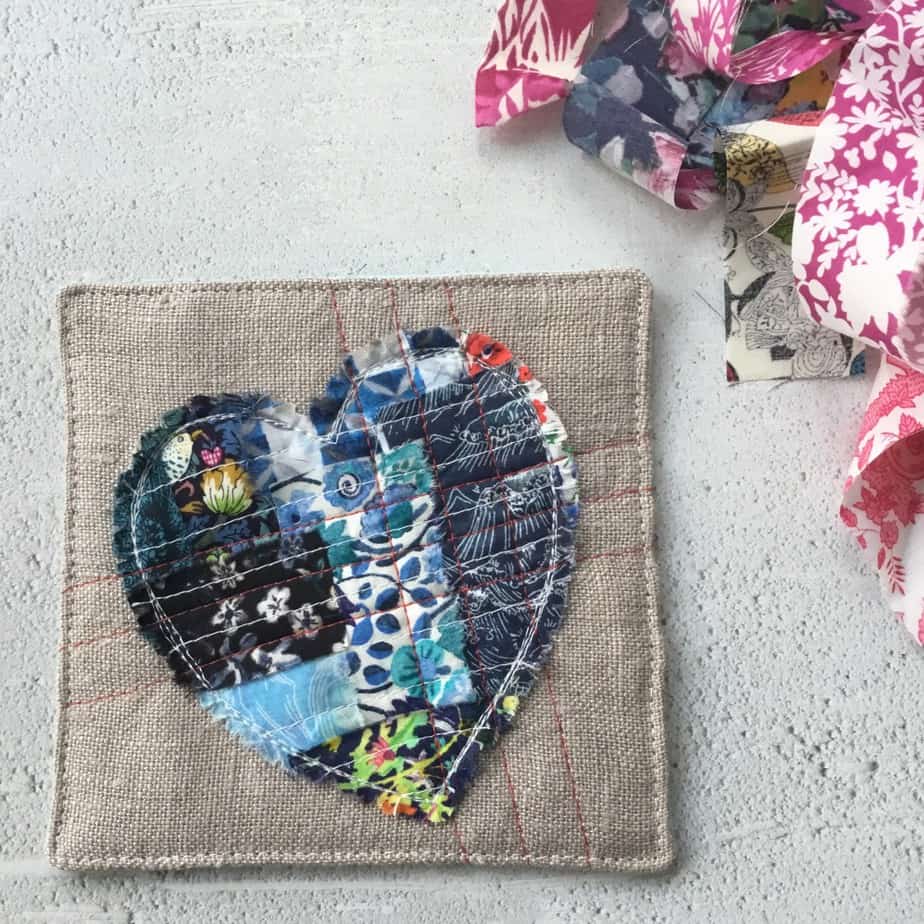
I hope you enjoyed this little how-to and it’s given you some ideas on how to use up your precious scraps or even of things to make. Do check out my Boro Patch Mini Course which includes more tips & tricks for making Boro Patches along with a library of motif templates to get your started straight away!
If you do make anything please let me know as I’d love to see it!
S x
Today’s sky::: mostly overcast and grey. There’s been So. Much. Rain!
If you would like monthly news and updates, please sign-up to my newsletter.
To check out my quilt and accessories patterns, visit my Pattern shop.
For my favourite sewing equipment and tools, visit my Amazon store.




I made a bunch of sets for Valentine’s Day. They all turned out and were a blast to construct. Thank you so much for this excellent tutorial! I’ve had several requests for your link.
That’s so lovely to hear Beth – I’m so pleased to hear that everyone enjoyed your coasters. They are such a fun make! Thank you for sharing x
Lovely to come across you ! I’m going to do your coasters today to help me get my sewing mojo back…and clear a few scraps!
Aw, yay! Thanks for popping by and I hope it helps with your sew-jo! I always find small projects like this and perfect at getting the creative juices going! And always good to clear some scraps!!!
Very clever, must have a go at making this. So many scraps to use!!!
Hee hee! Scraps definitely seem to multiply don’t they!!! Look forward to seeing what you make, S x
Marvellous Sonia. Just a quick and easy yet so effective project for Valentine/Galentine’s day
So pleased that you enjoyed it Diane! Thanks for popping by x